Does it belong on your arm? See the possibilities.
Answers to common arm tattoo preview questions, from inner versus outer forearm placement to photo angles, size, orientation, and sharing with an artist.
 A little perspective, before the ink.
Make the idea feel real.
Start with an idea you love
Give the idea some context
Make a clearer artist brief
In this guide
Is there an app that shows a tattoo on my arm before I get it?
Yes. Tatship lets you explore a design on a body photo before your appointment. Photograph the part of your arm you want to use, compare a small set of placements, and save a reference for your artist. Use separate photos for different views rather than assuming one photo shows every side.
Photograph the exact surface you want to compare.
A second angle needs a second reference photo.
Confirm real measurements with your artist.
Start with the surface you want to see
“On my arm” is a broad brief. Inner forearm, outer forearm, upper arm, and an area near the wrist can produce very different compositions. Choose the surface before taking the photo so the preview answers a specific question.
For an inner forearm study, photograph that surface with your arm comfortably extended. For the outside, take a separate photo in a natural pose. Include nearby landmarks so you and your artist can understand the proposed location.
Can I compare inner and outer forearm placement?
Yes, by making a separate preview for each photo. Use the same artwork and a similar framing distance so the comparison is easier to interpret. Add a note identifying the left or right arm and which surface is shown.
Keep the question narrow. If you change the artwork, location, orientation, and size at once, it becomes difficult to know why one version feels better. First choose the surface; then refine the other details.
Can I see every angle from one photo?
Do not assume that a preview from one photo reveals the hidden surfaces of your arm. Take additional photographs for the views you care about. A digital simulation is a planning aid, and different views may need their own preparation.
If you are considering a design that wraps around the arm, involve your artist early. A flat reference and a single view cannot fully explain how all parts of a wrap should meet.
How do I choose the size?
Use the preview to explore proportion: a small accent, a longer design along the forearm, or a larger composition. Then write down the physical size you want to discuss. Camera perspective means that pixels on a screen are not a reliable substitute for centimeters or inches.
Ask your artist whether the detail works at that size. If your preferred version is small, they may suggest simplifying parts of the artwork. The goal is a useful starting brief, not an exact technical plan generated from a photograph.
Which way should the design face?
Make the direction explicit. Say “the top toward my elbow,” “the face toward the inside of my arm,” or another description that makes sense for the design. A mirrored selfie can make left and right confusing, so check the original photo before sending it.
Compare an alternative if orientation is your main uncertainty. Your artist can explain how the direction works with the rest of the composition and any existing tattoos.
What should I photograph before trying it on?
- The complete placement area, with a little space around it.
- Your arm in a comfortable pose you can repeat.
- Even lighting without strong filters or deep shadows.
- A separate view if you are comparing another surface.
- Existing tattoos that affect the available space.
Use photos you are comfortable sharing and review the photo privacy information. Digital image processing can involve remote processing; the fact that you selected a photo from your device does not mean every operation happens only on that device.
What do I send my artist?
Send the chosen preview, the original design, and a short note with location, direction, and approximate physical size. If you have two favorites, name them A and B and explain the remaining question.
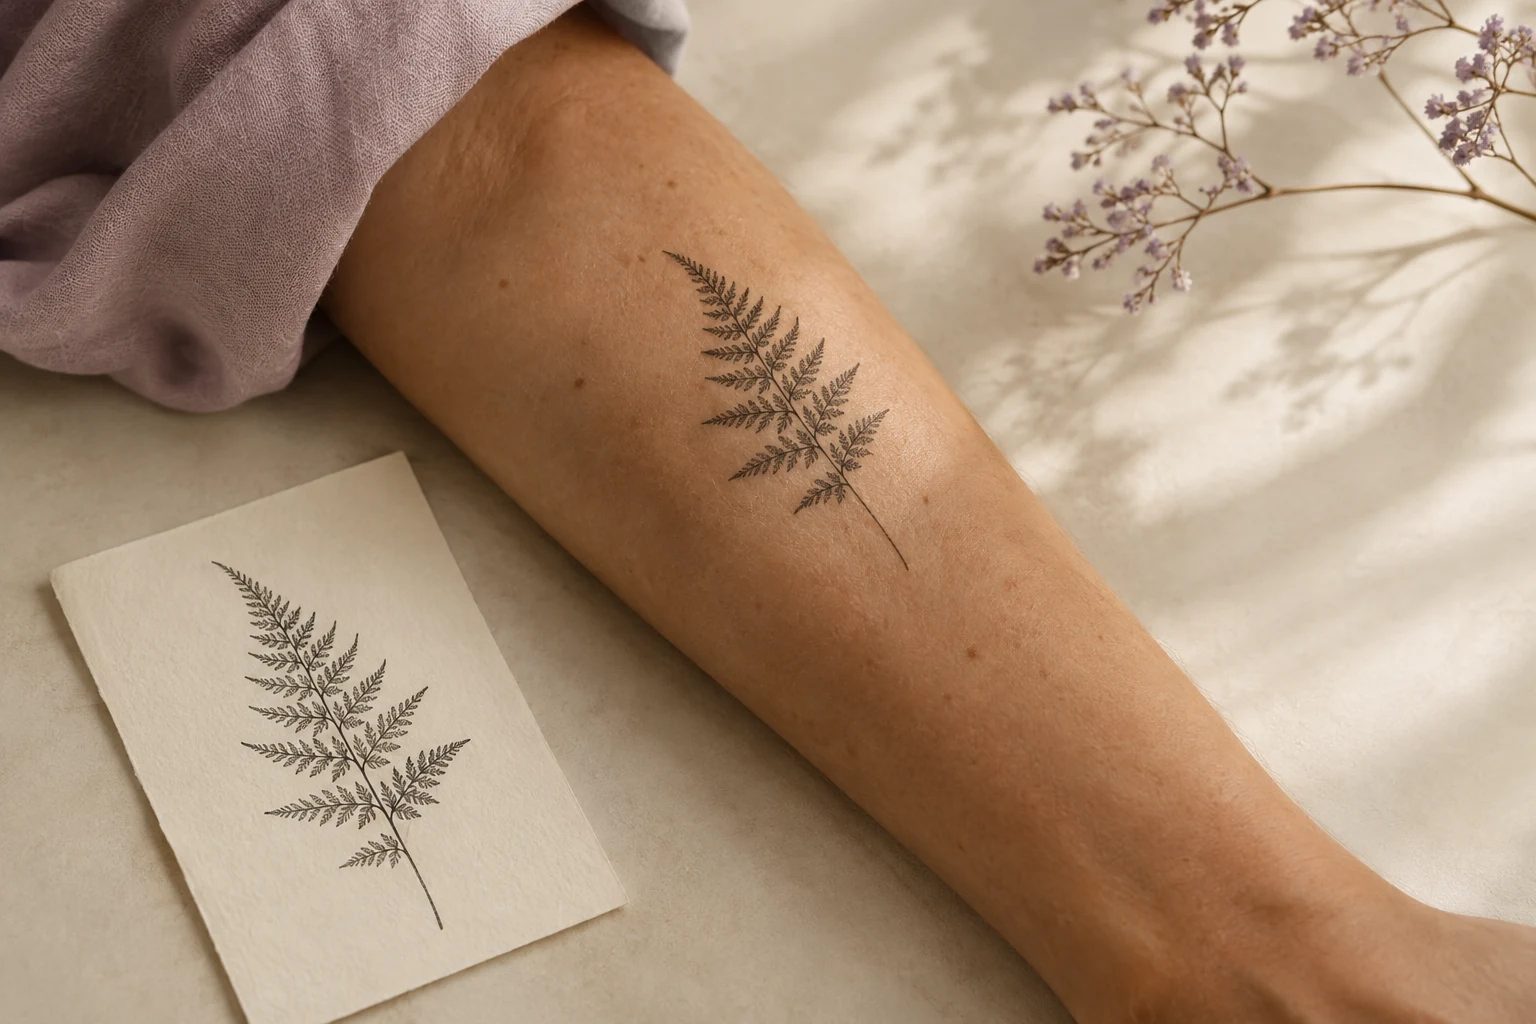
For example: “I prefer A on the inner right forearm. I am considering a smaller version but do not want to lose the leaf detail. Could you advise on the size?” That gives your artist a clear problem to solve.
Where do I start in Tatship?
Open tattoo try-on with your body photo and design ready. Follow the prompts and use the available controls to explore the placement. The full own-photo guide explains how to organize your versions.
Use the result to plan your conversation. Confirm the final size, artwork, and stencil placement with your artist before getting tattooed. For current access, trial terms, and feature availability, check the web pricing page or the offer shown in your mobile app.
Written by the Tatship editorial team. Product illustrations are conceptual; use the current product and pricing pages to check available features and offers.