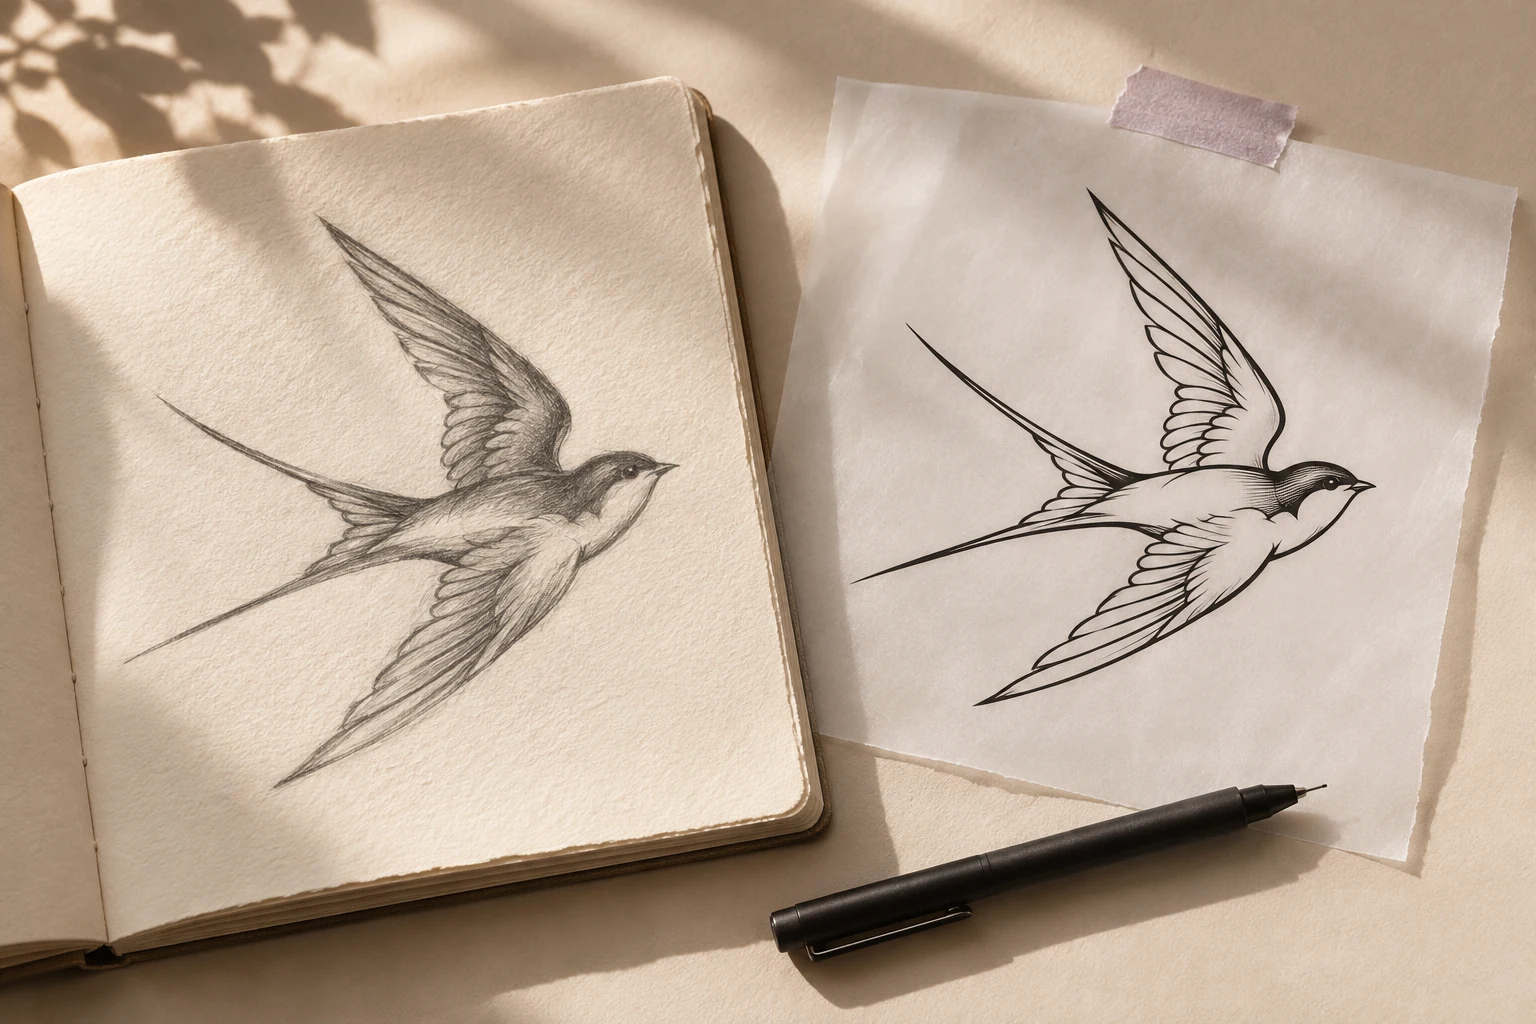
Your design. Your skin. A preview before the ink.
How to preview a tattoo on your own photo: prepare your artwork, choose a body photo, compare placement, and take a useful reference to your artist.
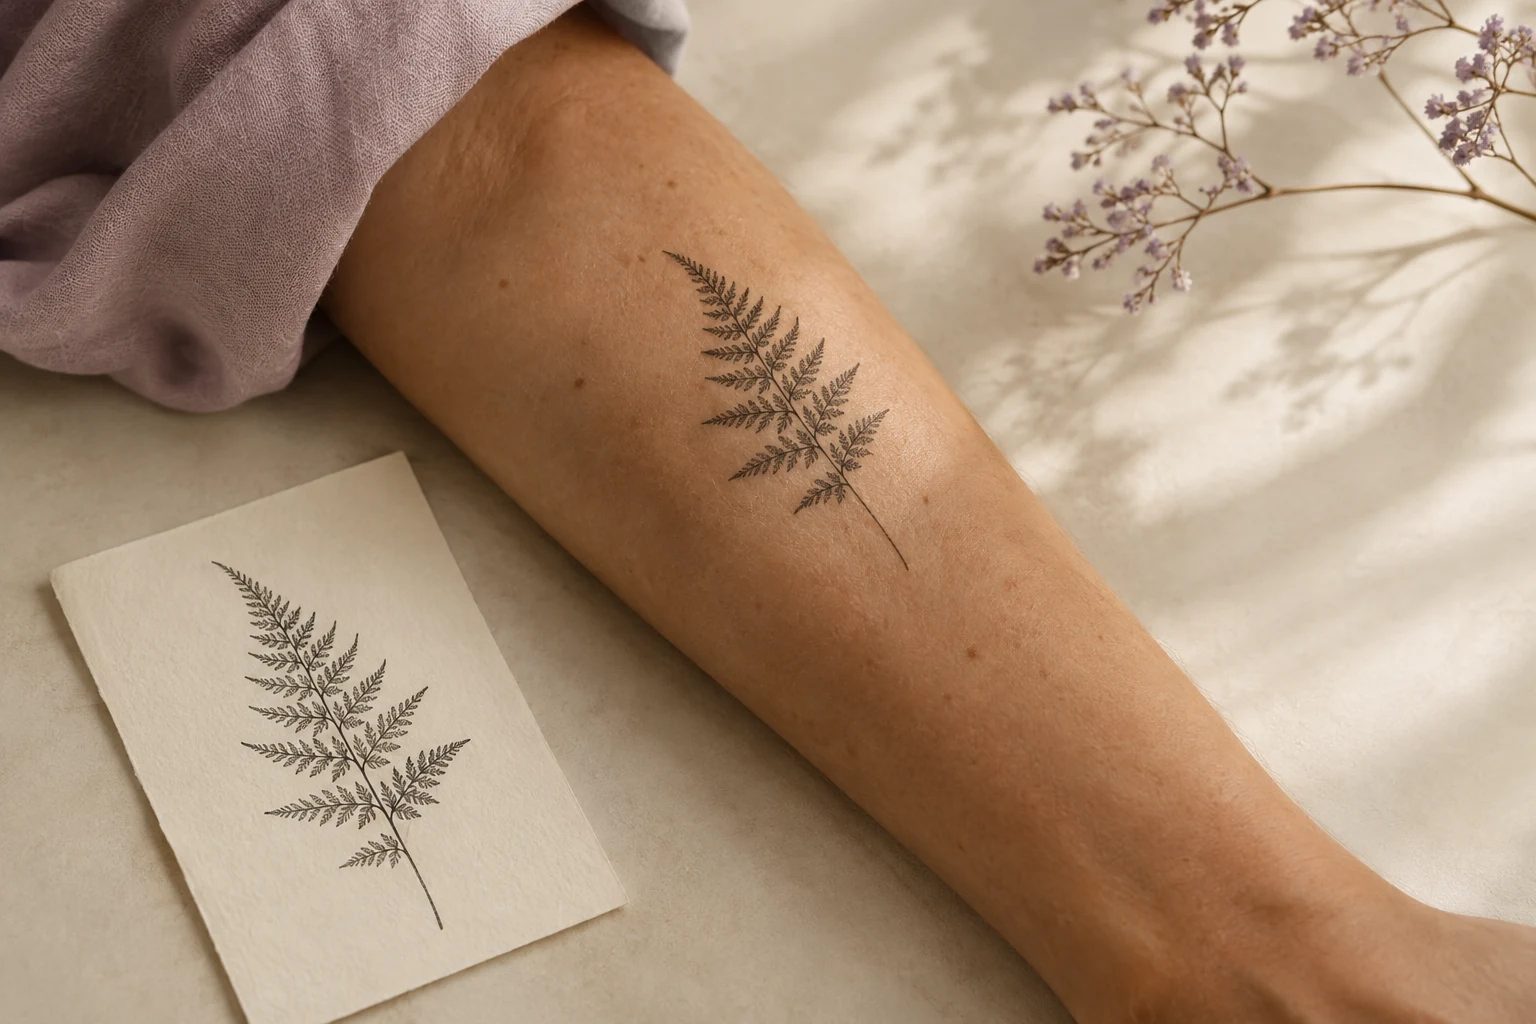 A little perspective, before the ink.
Make the idea feel real.
Start with an idea you love
Give the idea some context
Make a clearer artist brief
In this guide
How can I preview a tattoo on my own photo?
Use a tattoo simulator such as Tatship to combine a body photo with your design and explore its placement. Start with a clear photo, compare a few versions, and share the preview with your artist. A simulation helps communicate an idea; your artist still confirms the final size, stencil, and placement.
Start with two separate images: the design and your body photo.
Change one thing at a time when comparing placements.
Use the preview as a visual brief, not a promise of healed ink.
Start with two different images
There are two parts to a useful tattoo preview: the artwork you want to explore and the body photo you want to place it on. Keeping those separate makes the process easier. A picture of a tattoo on someone else is a reference, but it also contains their skin, lighting, and perspective. Your artist may need to redraw it, and you should have permission to use the artwork.
If you already have a clean design, go to Tatship’s try-on tool. If your starting point is a photograph or a sketch, begin with photo-to-tattoo conversion to explore a design reference. Generating or simplifying artwork and previewing its placement are separate decisions; review the design before using it in a body preview.
Take a photo that answers your question
A good reference shows the entire placement area with a little space around it. Use even light, a relaxed pose, and an angle that shows the surface clearly. Keep clothing and hair away from the area you want to evaluate. Strong shadows and extreme camera angles can make a preview harder to judge.
For an inner forearm tattoo, photograph the inner forearm. For an outer-arm version, take a second photo. A single image does not reveal the hidden side of your arm. Read the arm placement guide for a more focused photo checklist.
Build a small, useful set of previews
Open the try-on workflow, follow the photo and design prompts, and use the available placement controls to explore the idea. Keep your first round small. Three deliberately different options are easier to discuss than twenty almost identical ones.
| Version | Change | Keep the same |
|---|---|---|
| A — baseline | Choose your starting placement | Body photo and artwork |
| B — size study | Explore a smaller or larger design | Position and orientation |
| C — position study | Move the design to another candidate spot | Artwork and approximate size |
This is a comparison method, not a claim that the app measures your body. Perspective and the distance from the camera affect how large a design appears. If you have a target size in centimeters or inches, write it down separately and confirm it with your artist.
Look beyond the first impression
Ask what each version helps you decide. Does the design follow the direction you intended? Does the silhouette still read at a smaller size? Is it close to clothing, an existing tattoo, or a body landmark that matters to you?
Then check what the image cannot settle. A digital preview cannot promise the appearance of healed ink, predict how a design will age, or replace an in-person placement check. Fine details that look attractive on a screen may need changing for the final tattoo. Bring those questions to the artist who will make it.
The illustrations in this guide demonstrate a planning process. They are not customer results or a benchmark of Tatship’s output.
Turn the preview into a useful artist brief
Share the chosen image with the original design and a few plain-language notes. A useful message is: “This is the inner left forearm. I prefer version B, with the top of the fern toward my elbow. I am considering roughly this size, but would like your advice on the detail.”
Keep one alternative if you are genuinely undecided. Explain what you like about it instead of asking your artist to infer your preference from a folder of screenshots. Artists can use a structured approval workflow to separate the design decision from the placement decision.
Questions before you start
Can I upload a design I already have?
Tatship’s try-on workflow lets you work with tattoo artwork and a body photo. Use a design you created, commissioned, or have permission to use. If your file includes a busy background or another person’s body, prepare a cleaner reference first.
Do I need to design the tattoo first?
You need enough of an idea to make the preview meaningful. An early concept can help you compare placement, but a preview of that concept is not approval of a final tattoo design. Revisit the placement when your artist finishes the artwork.
What does it cost?
Check current web pricing and the offer shown in the app you plan to use. Web and mobile offers, trial eligibility, and included features can differ. This guide does not assume a particular trial length or unlimited usage.
What should I do with the final preview?
Save or export the result where the workflow offers that option and send it through your normal conversation with your artist. Confirm actual dimensions and the final stencil in person before tattooing.
Written by the Tatship editorial team. Product illustrations are conceptual; use the current product and pricing pages to check available features and offers.