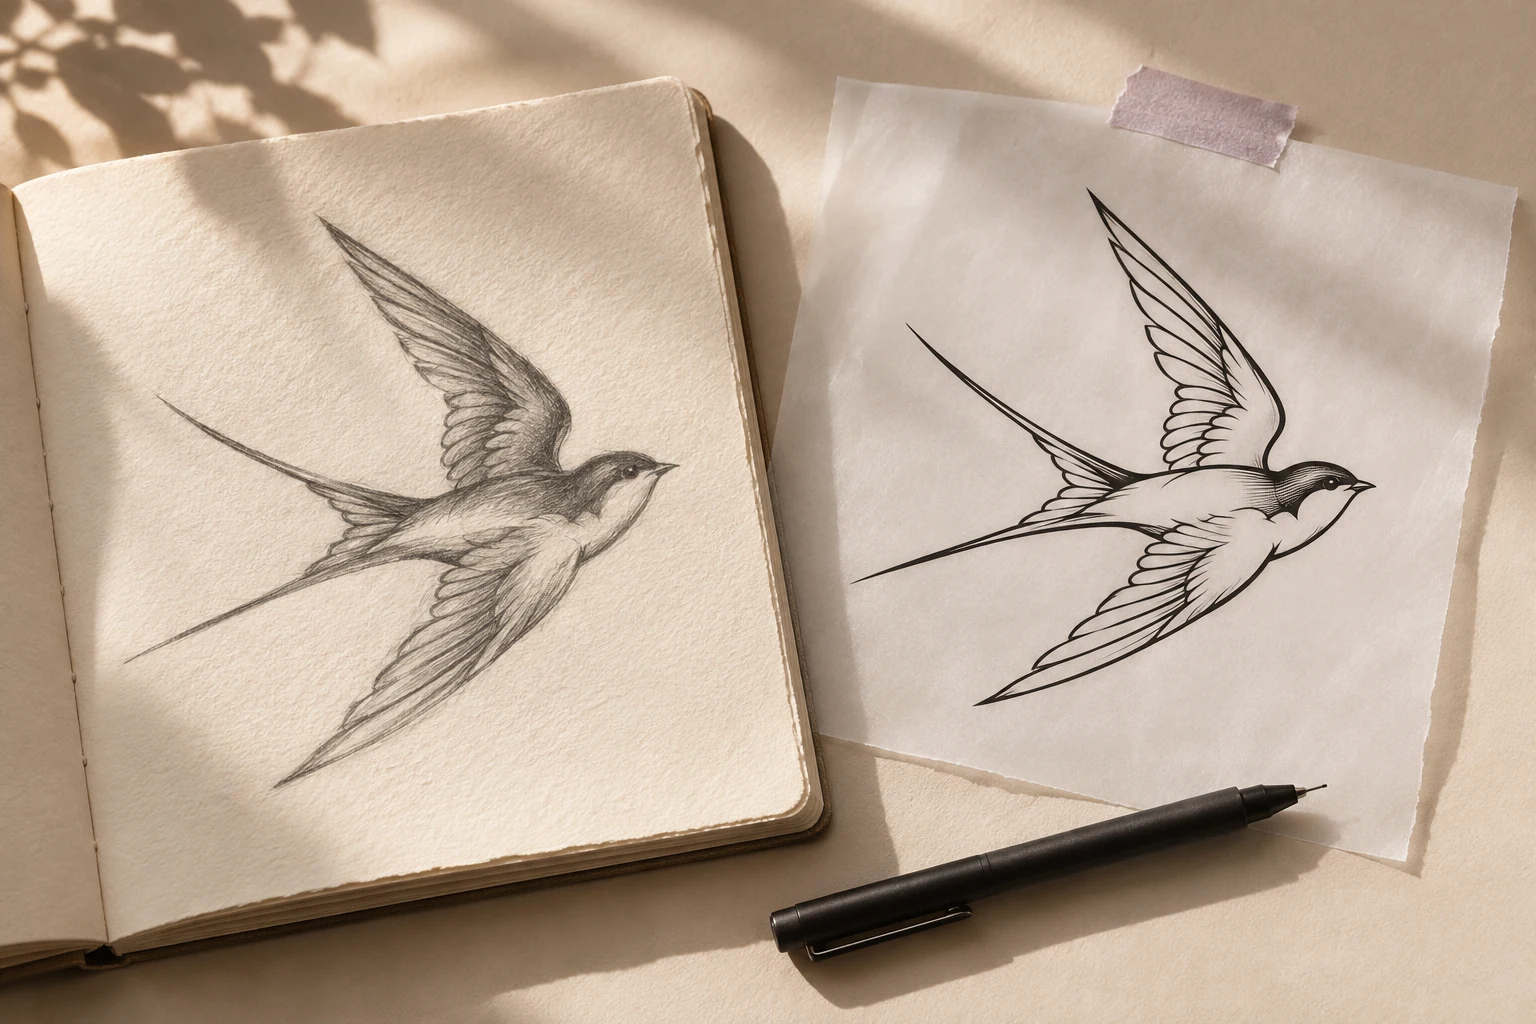
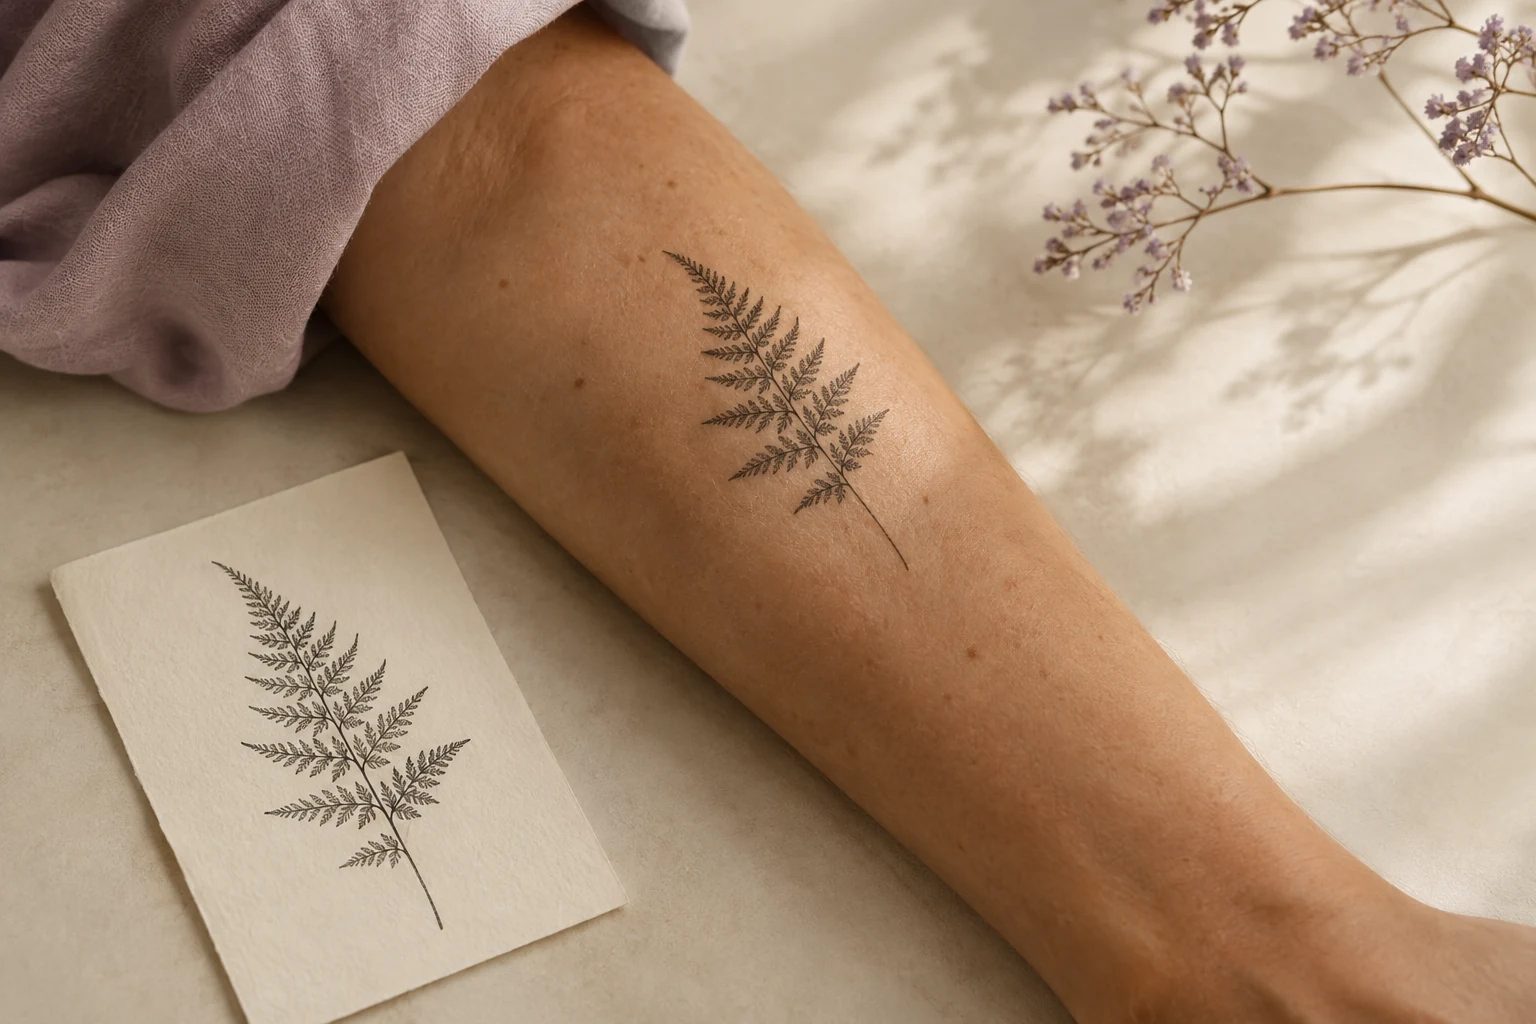
From a favorite pet photo to a tattoo reference.
Turn a dog or cat photo into a stencil-style tattoo reference. Learn which details to keep, what to simplify, and what your artist needs before tattooing.
 A little perspective, before the ink.
From reference to possibility.
Keep the details that matter
Compare before you commit
Refine the final linework
In this guide
Can I turn a photo of my pet into a tattoo stencil?
Yes. A photo-to-tattoo tool can help turn a clear pet portrait into a simplified design or stencil-style reference. Choose the expression you want to preserve, reduce distracting detail, and ask your artist to adapt the result for the intended size and tattoo style.
Choose expression and silhouette before adding detail.
A generated reference still needs an artist’s review.
Keep the original photo alongside the converted version.
Choose the expression, then choose the photo
For a pet tattoo, likeness often lives in a few details: the angle of an ear, a nose shape, a familiar expression, or a distinctive patch of fur. Start by deciding which of those details matters to you. The technically sharpest photo is not always the one that feels most like your pet.
Pick a clear image where the face or silhouette is easy to distinguish from the background. Keep a second reference if the first image hides an important feature. For a memorial piece, a small collection of good references is often more useful to an artist than one heavily edited photograph.
Decide what kind of reference you need
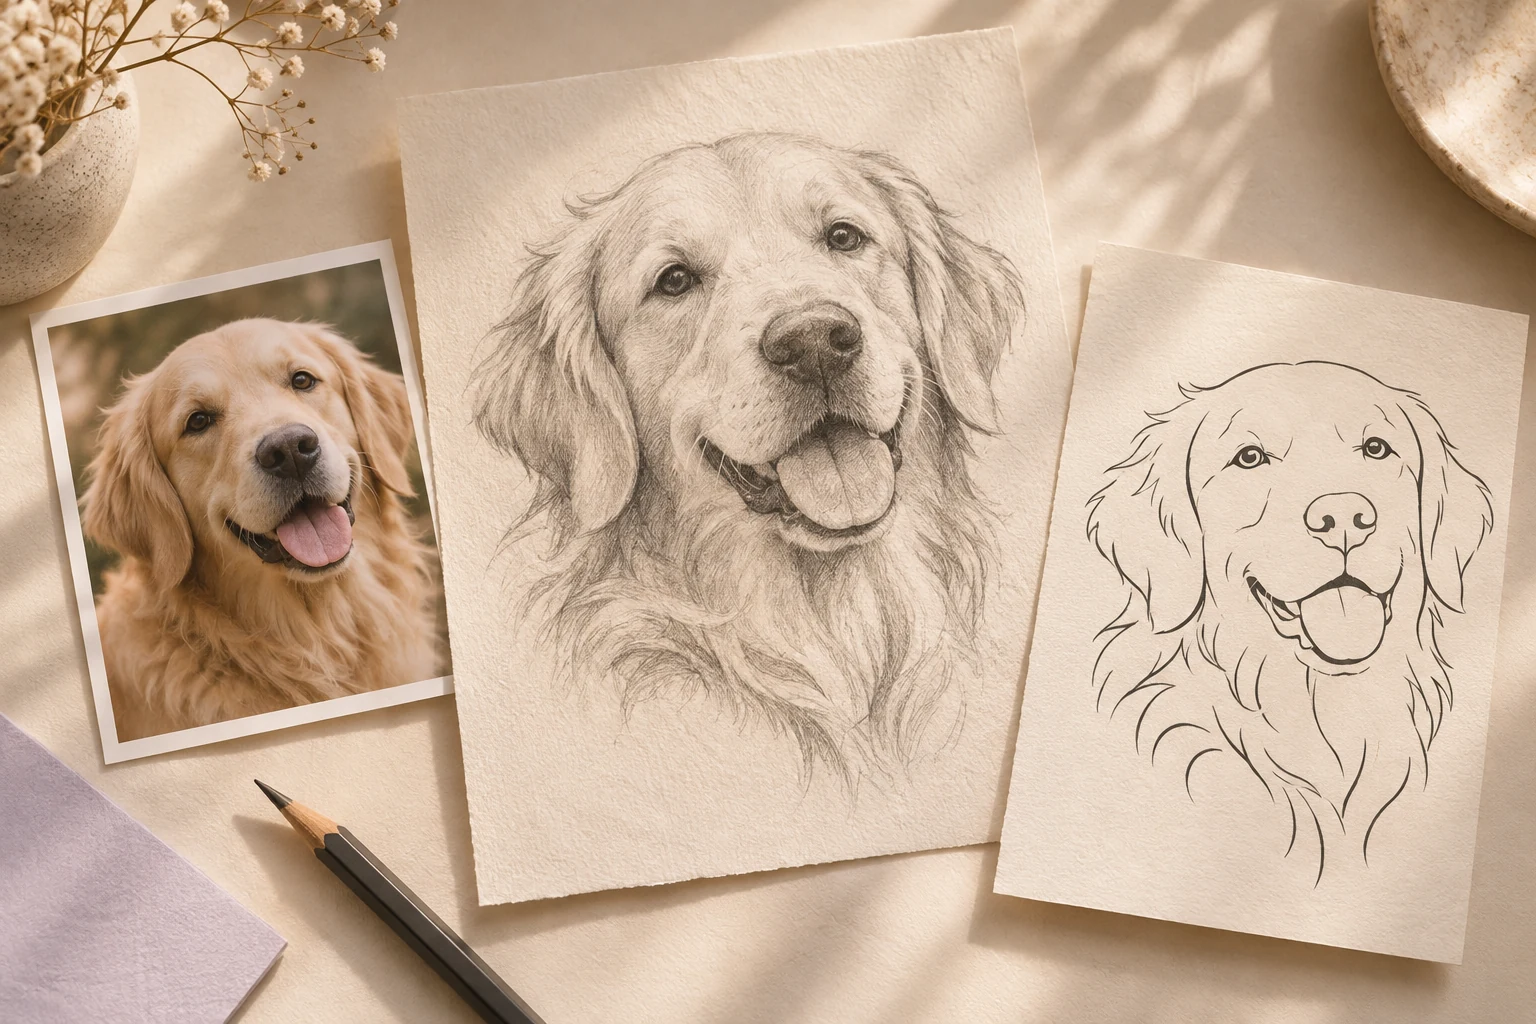
A line portrait, a shaded portrait, and a tiny silhouette ask different things of the same photo. Choose a direction before converting the image. Otherwise, it is easy to mistake “more detail” for “a better tattoo.”
| Direction | Details worth preserving | What to discuss with your artist |
|---|---|---|
| Simple silhouette | Ear shape, pose, outline | Whether the pet is recognizable without facial detail |
| Line portrait | Eyes, nose, characteristic markings | Which lines are essential at the intended size |
| Shaded portrait | Expression, light, darker areas | How the shading and size should be adapted for skin |
The paper studies pictured here are illustrative artwork. They show three ways to think about a reference, not a recorded conversion result.
Work from the photo in Tatship
Open photo-to-tattoo conversion and follow the image-upload workflow. Use the available design controls to explore your chosen direction. Keep your original photo: you will need it to judge whether a cleaner-looking result still resembles your pet.
Compare the output deliberately. Check the eyes, the shape of the muzzle, the number and direction of visible ears, and any markings that make this animal distinctive. Image processing can simplify or change a feature. A polished image is not proof that those details are correct.
If a version loses the expression you love, return to the source photo or ask your artist to redraw that part. Do not keep generating increasingly elaborate versions just because they look more finished.
Give your artist a reference, not a constraint
A stencil-style image communicates the outline or detail you have in mind. The final stencil is part of your artist’s preparation: they may change the linework, composition, or amount of detail for the size and style you choose.
Send the original photograph alongside the converted reference. Mark the two or three details you want preserved. Let the artist know which parts are flexible. This is especially useful when you want a small portrait but the source image contains many fine details.
Try the composition on your body
Once the design direction feels right, use a body-photo preview to compare its position and approximate scale. A portrait may read differently when it faces inward, outward, or along the length of an arm. Compare those choices using a consistent body photo.
If you want a name or date, try the lettering separately before deciding on the combined composition. Tatship’s font tool can help you explore a lettering direction; your artist should review its size and spacing with the portrait.
Questions about pet tattoo references
Can this work for a cat or another animal?
The same preparation principles apply. Use a clear reference and identify the distinctive features you want the artist to preserve. The quality and suitability of a conversion depend on the input and the result you want.
Will the converted design be ready to tattoo?
Do not assume so. Treat it as a design reference that your artist reviews and adapts. A clean outline on a screen is not a guarantee that every detail will work at your chosen size.
What if my only photo is blurry?
Keep it as an emotional reference, but tell your artist which features are uncertain. If you have other photos, use them to clarify the missing detail. Avoid treating invented detail in an edited image as an accurate likeness.
Should I bring only the stencil-style version?
Bring the original photo, the preferred converted reference, and a placement preview if you have one. Together, they explain the subject, the style direction, and where you imagine the tattoo going.
Written by the Tatship editorial team. Product illustrations are conceptual; use the current product and pricing pages to check available features and offers.