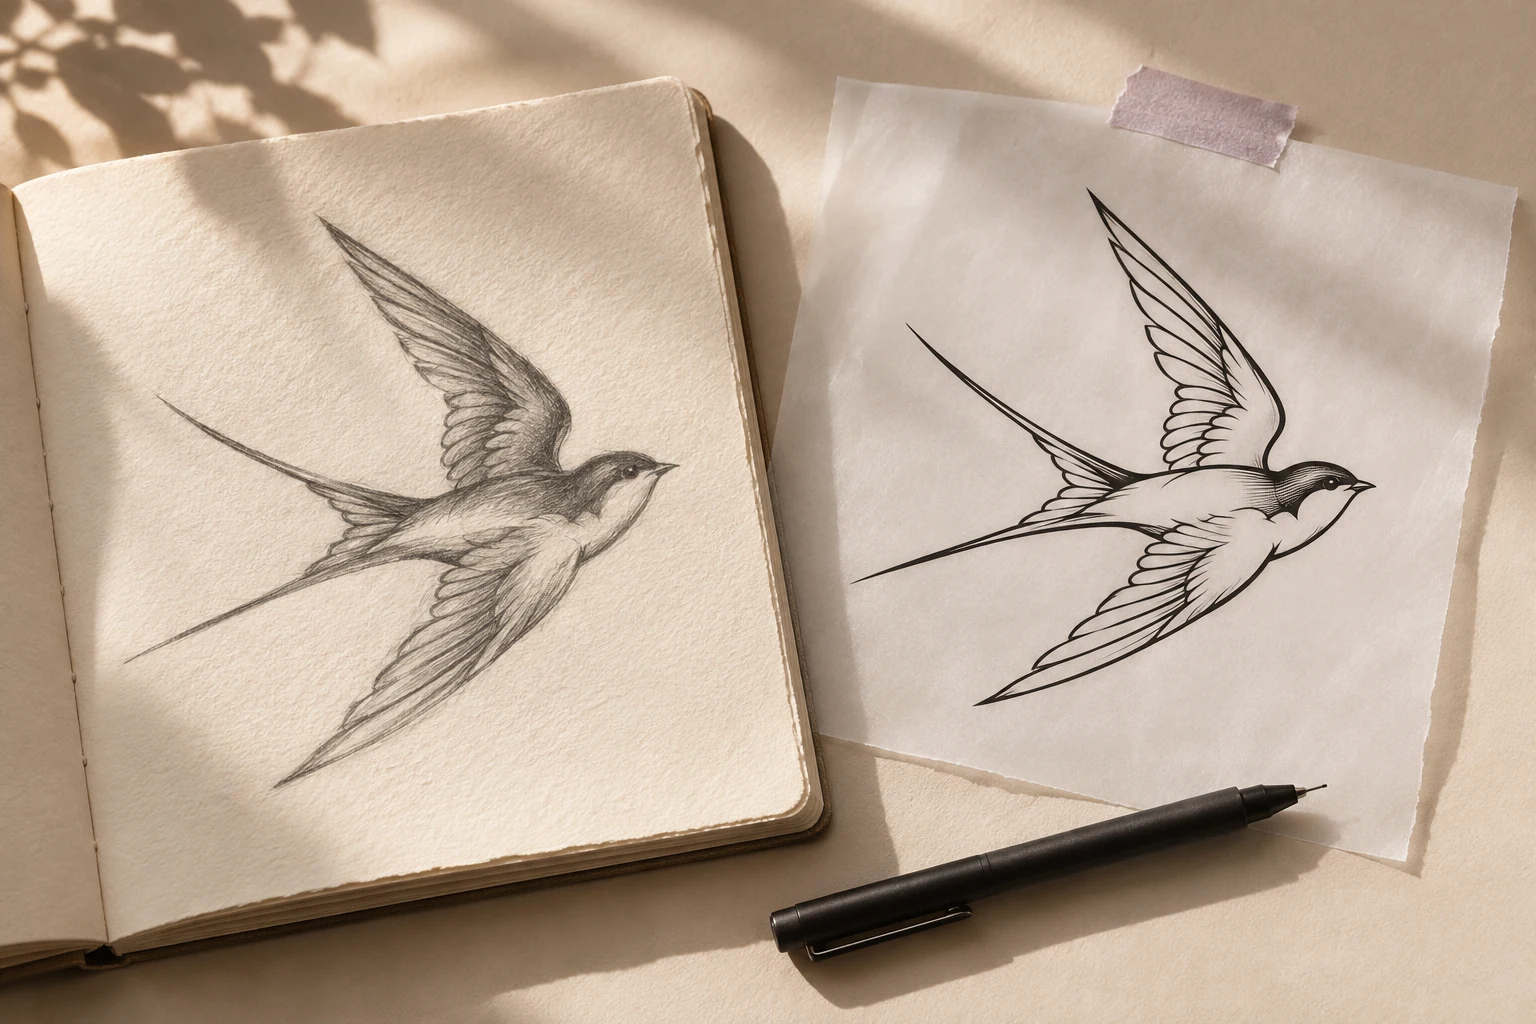
Find the right way to preview your next tattoo.
Compare photo-based tattoo simulators, camera overlays, temporary tattoos, and an artist’s stencil session by what each can actually help you decide.
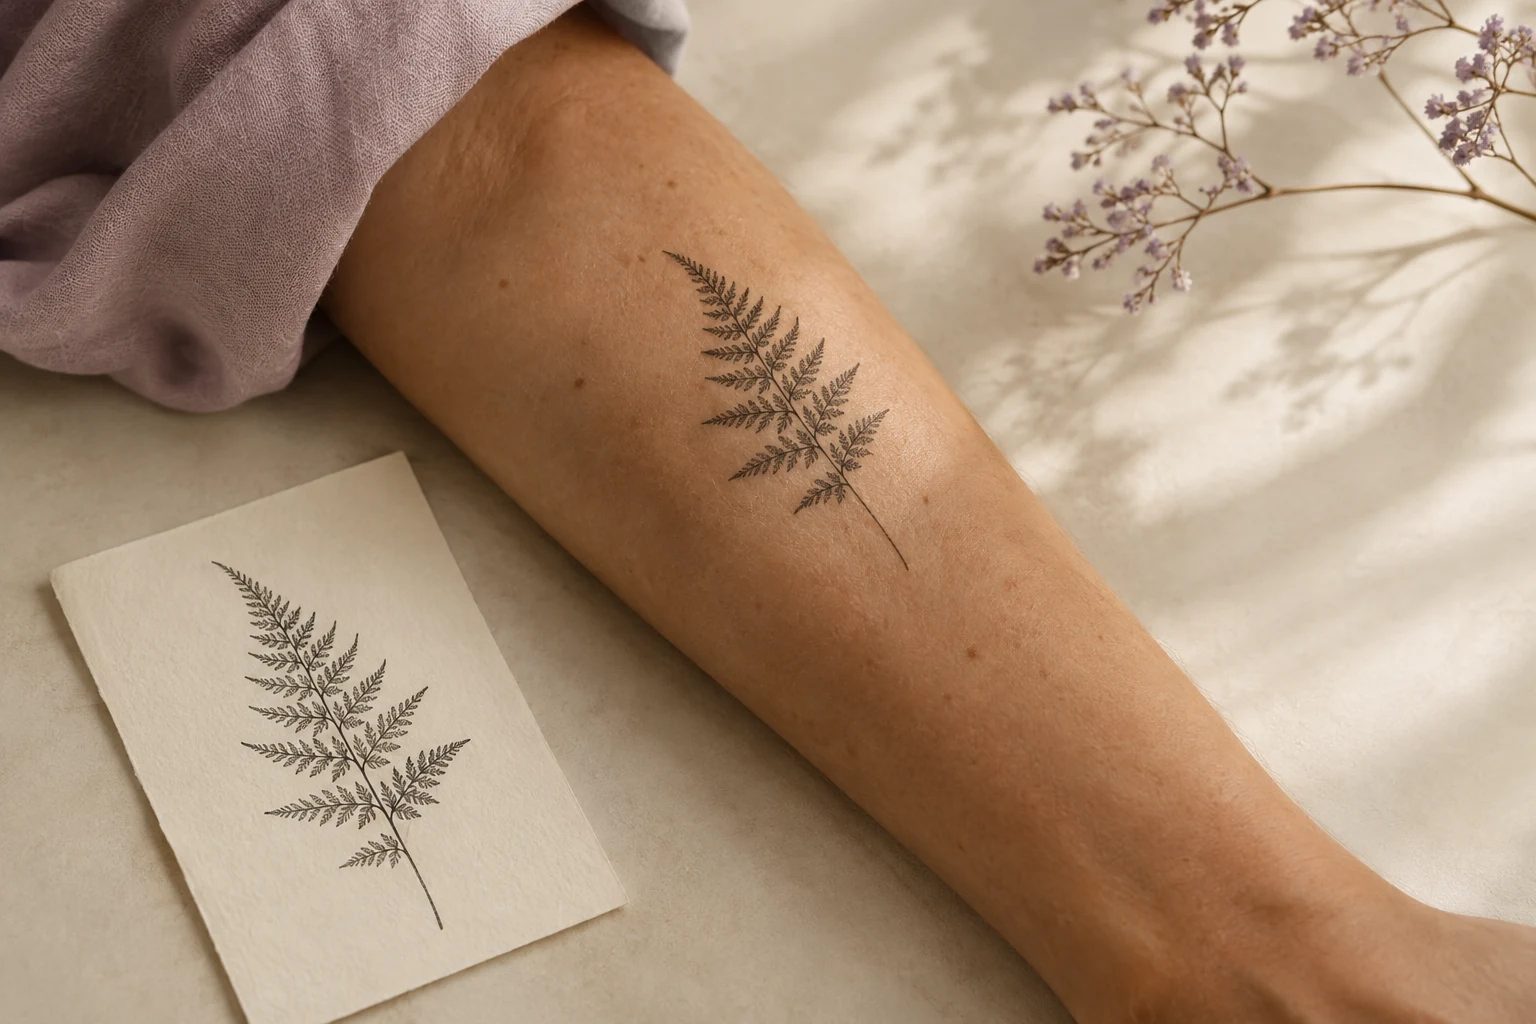 A little perspective, before the ink.
Make the idea feel real.
Start with an idea you love
Give the idea some context
Make a clearer artist brief
In this guide
Which tattoo preview method should I use?
Use a photo-based simulator to compare artwork and placement, a camera overlay for a quick orientation check, a temporary tattoo to experience wearing a shape, and your artist’s stencil for the final in-person decision. These methods answer different questions; no digital preview replaces the final stencil check.
Choose a method for the decision you need to make.
Compare tools with the same design and body photo.
Keep the artist’s stencil as the final placement check.
Choose the decision before the tool
“What will this tattoo look like?” can mean several things. You might be choosing between two designs, deciding where a design belongs, or checking whether you enjoy seeing a shape on your body every day. One preview method does not have to answer all three.
This guide compares methods rather than awarding an unsupported “best app” ranking. It is published by Tatship, which offers a photo-based tattoo try-on workflow. The comparisons below describe practical uses and limits; they are not results of a controlled accuracy test.
Compare four preview methods
| Method | Useful for | What it cannot establish | Next step |
|---|---|---|---|
| Photo-based simulator | Comparing designs and placements on a consistent body photo | Exact physical measurements or healed appearance | Save a shortlist for your artist |
| Camera overlay or AR app | Exploring orientation in a live camera view, where supported | Guaranteed tracking quality or final tattoo detail | Check a saved view and the tool’s limitations |
| Temporary tattoo or printed wear test | Seeing a shape with your clothes and daily routine | An exact match to permanent ink or its aging | Discuss the composition and size with your artist |
| Artist’s stencil session | Checking the prepared design on your body in person | How healed ink will look over time | Confirm placement with the artist before proceeding |
Features vary between products. Check whether a specific tool accepts your own design, requires an account, supports export, and charges for the workflow you need. A category label such as “AR” does not tell you all of that.
When a photo-based preview makes sense
A consistent photo is useful when you want to compare alternatives carefully. Hold the body photo and artwork constant, then change either placement or approximate size. This makes the differences easier to interpret and gives you an image you can discuss later.
Tatship’s try-on tool is one option for this process. Use the own-photo walkthrough to prepare your images and build a small shortlist. If you want to see another side of a limb, take another photo rather than assuming a single preview represents every angle.
When a camera overlay helps
A live camera view can be convenient for an early orientation check. Depending on the app, you may be able to explore a design while changing your pose or the camera position. Before relying on it, check how that particular app handles tracking, your own artwork, and saving a result.
Movement, lighting, and camera perspective can change what you see. Compare a saved view with your intended placement and use it as a starting point for a discussion, rather than treating the moving image as a measurement.
When a physical wear test is useful
A temporary version can answer a question a screen cannot: do you like seeing this shape in that location during everyday activities? Clothing, mirrors, and your normal viewing distance all change the experience.
The material, color, and edge of a temporary tattoo may differ from permanent ink. Ordering a custom temporary design can also take time. It is most useful after you have narrowed down the artwork and location, rather than for every small design revision.
Keep the final stencil check
An artist can look at the real placement area and adjust the prepared stencil with you. This is where you confirm the physical position, orientation, and agreed dimensions. Arrive with your references, but stay open to changes the artist recommends for the actual piece.
Digital planning can make that conversation more specific. It should not make you feel locked into a placement simply because you liked a mockup.
Use the same test when comparing apps
Start with one design and one body photo. Try the task you actually care about: importing your artwork, making a placement comparison, and saving a useful reference. Note the steps, restrictions, and total price you encounter. Prefer that direct experience over a feature list without examples.
For privacy, read each service’s photo-handling explanation before uploading. For Tatship, see the privacy policy. A tool working in a browser does not, by itself, mean all image processing stays on your device.
Common questions
Which method is most accurate?
Accuracy depends on what you are checking. An in-person stencil shows actual placement on the body. A photo simulator is useful for exploring alternatives in advance. Neither should be treated as a prediction of the final healed tattoo.
Do I need to use every method?
No. Choose the smallest set that resolves your uncertainty. You might need only a photo shortlist and the artist’s final stencil check. A physical wear test can be useful if living with the placement is your main concern.
Written by the Tatship editorial team. Product illustrations are conceptual; use the current product and pricing pages to check available features and offers.