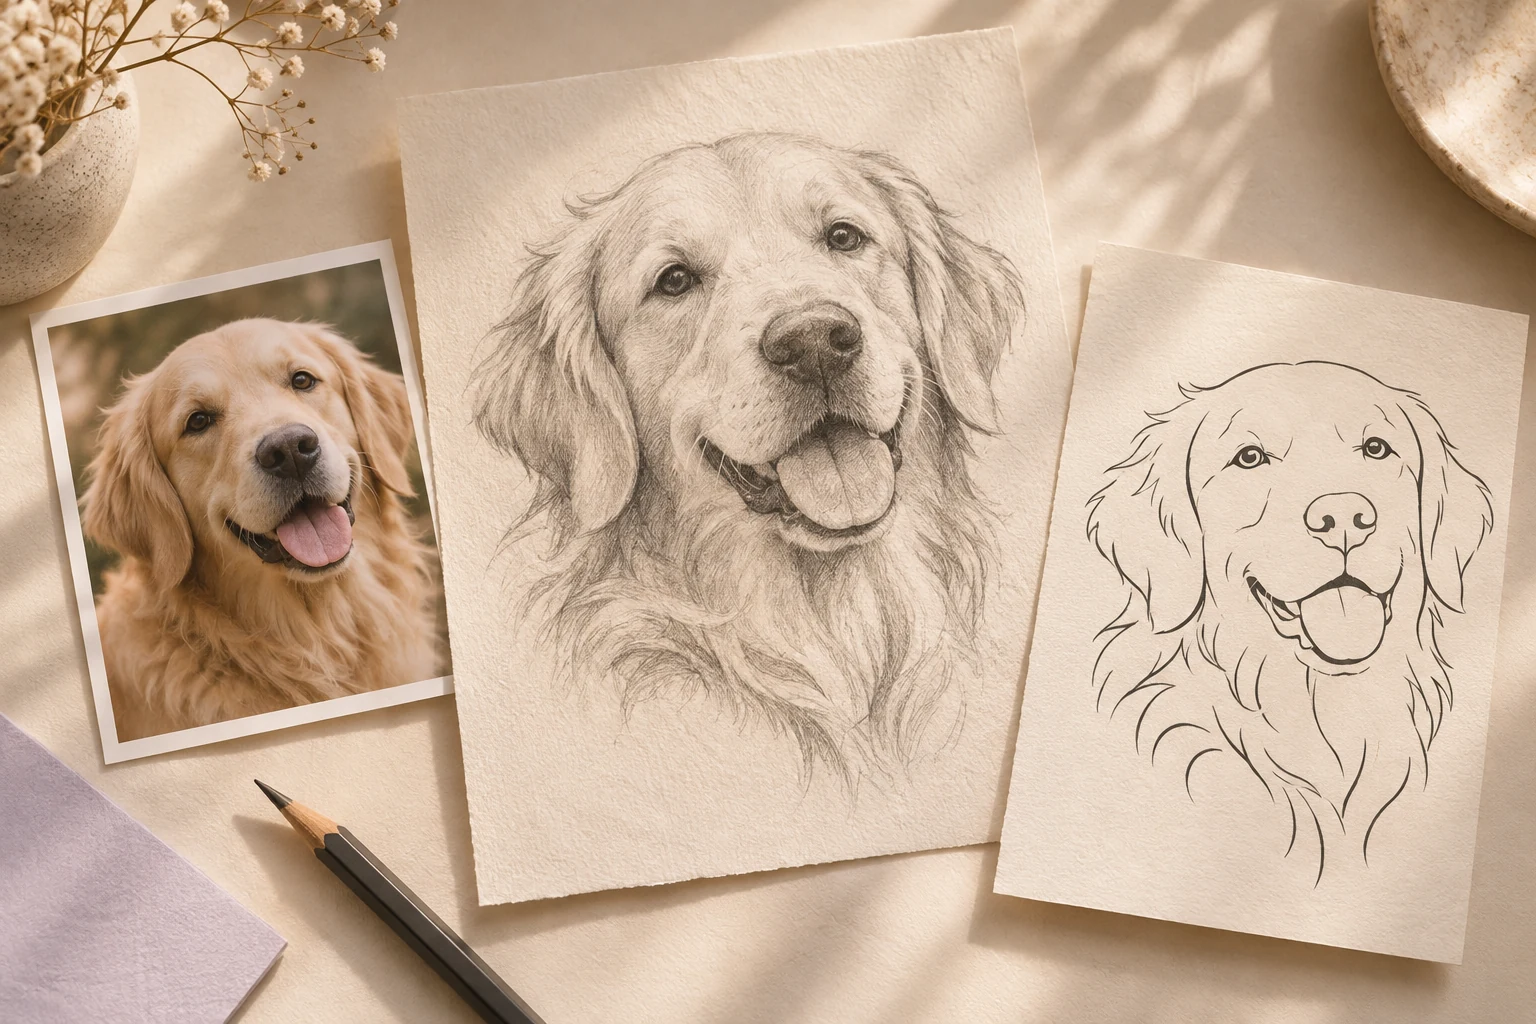
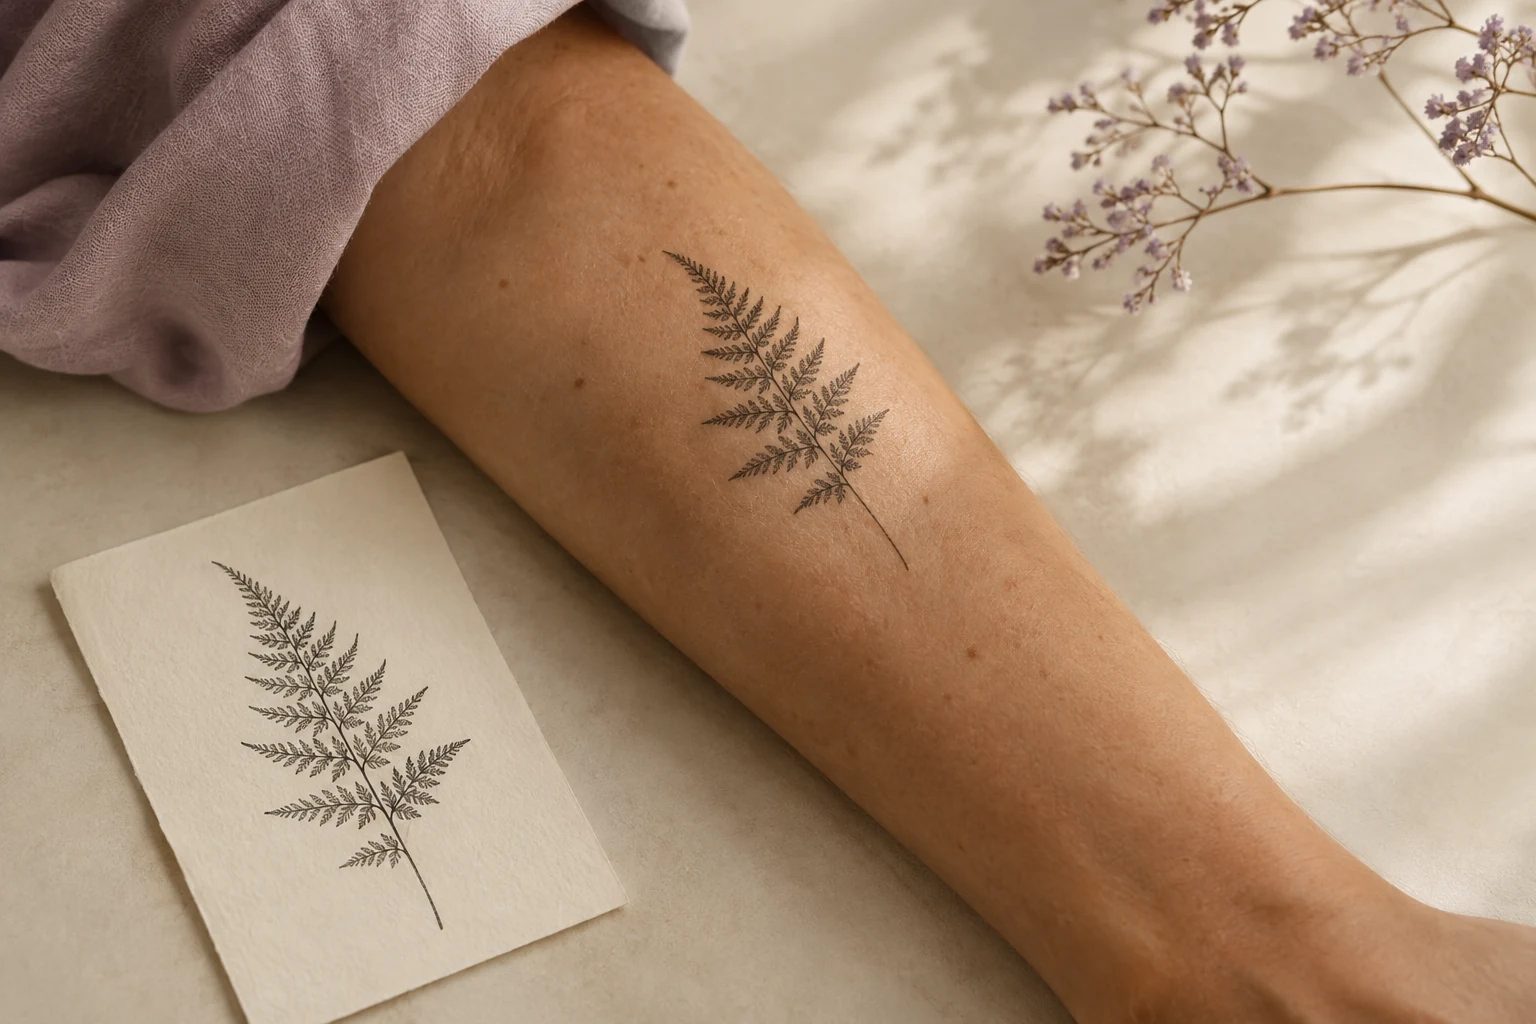
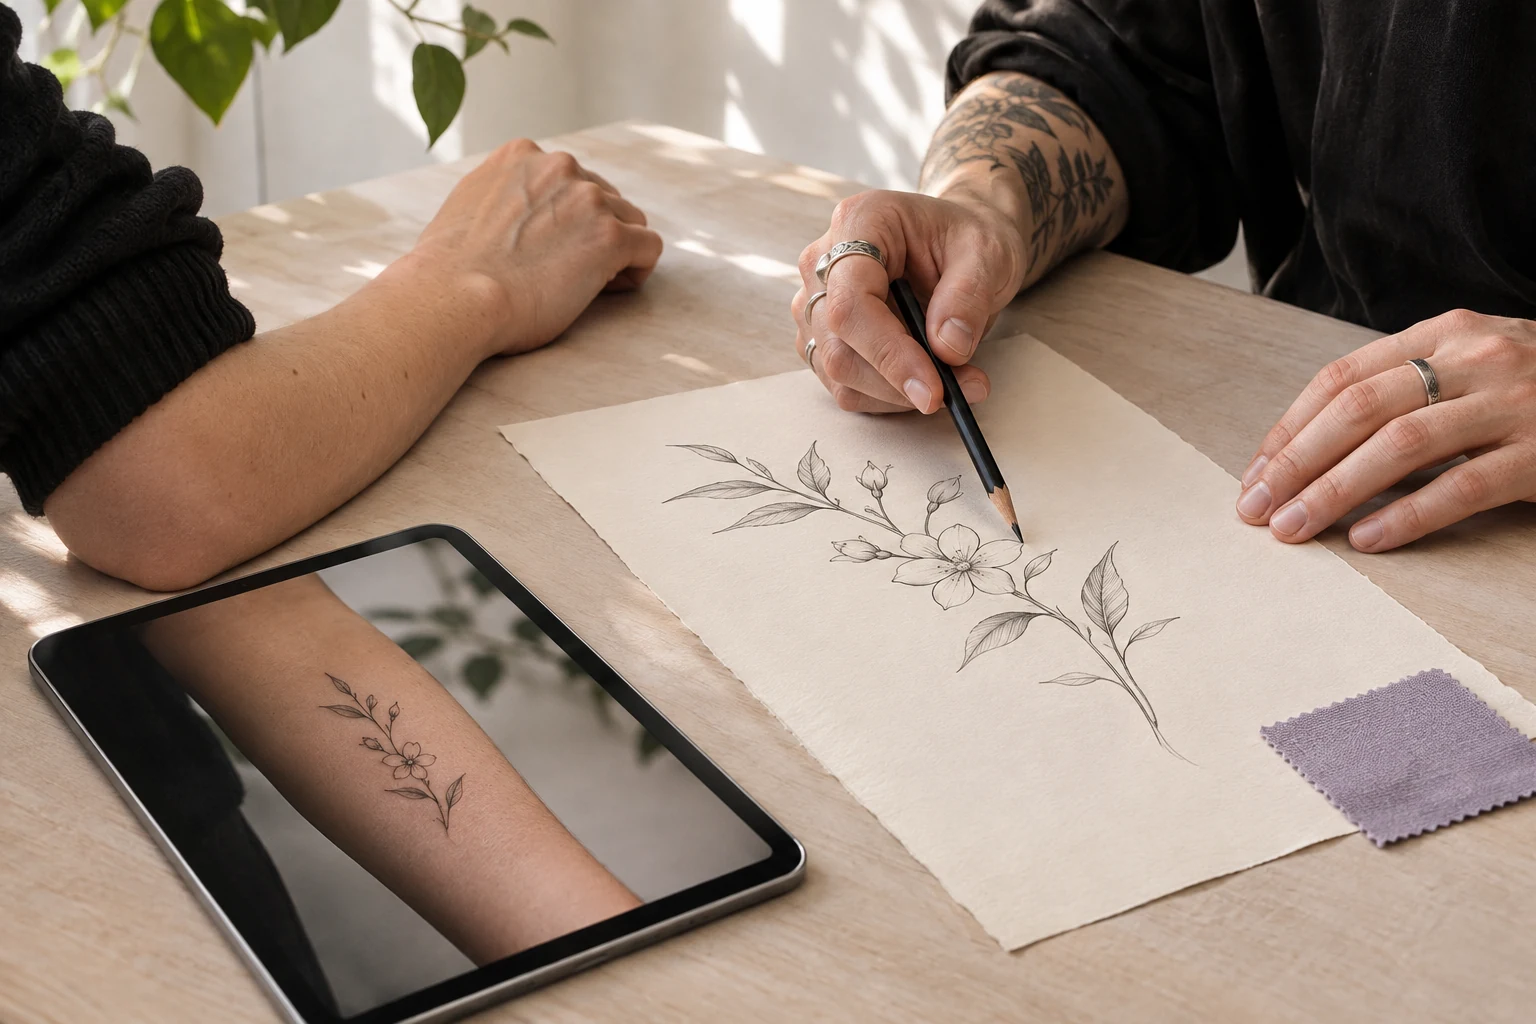
Keep the idea. Clean up the sketch.
Prepare your own drawing for a tattoo stencil reference without losing its character. A practical guide to capture, line cleanup, comparison, and artist handoff.
 A little perspective, before the ink.
From reference to possibility.
Keep the details that matter
Compare before you commit
Refine the final linework
In this guide
How do I turn my own sketch into a tattoo stencil?
Scan or photograph the drawing square-on, remove distracting paper shadows, and use a photo-to-tattoo tool to explore a cleaner reference. Compare the result against your original line by line. Give both versions to your artist, who can prepare the final stencil for tattooing.
Capture a clean source before asking software to simplify it.
Check that cleanup has not changed your drawing.
A neat outline and a production-ready stencil are different things.
Separate cleanup from redesign
Your sketch already contains decisions: the gesture of a line, the spacing between shapes, and the character of the subject. Before converting it, decide whether you want those choices preserved or whether you are open to a new interpretation.
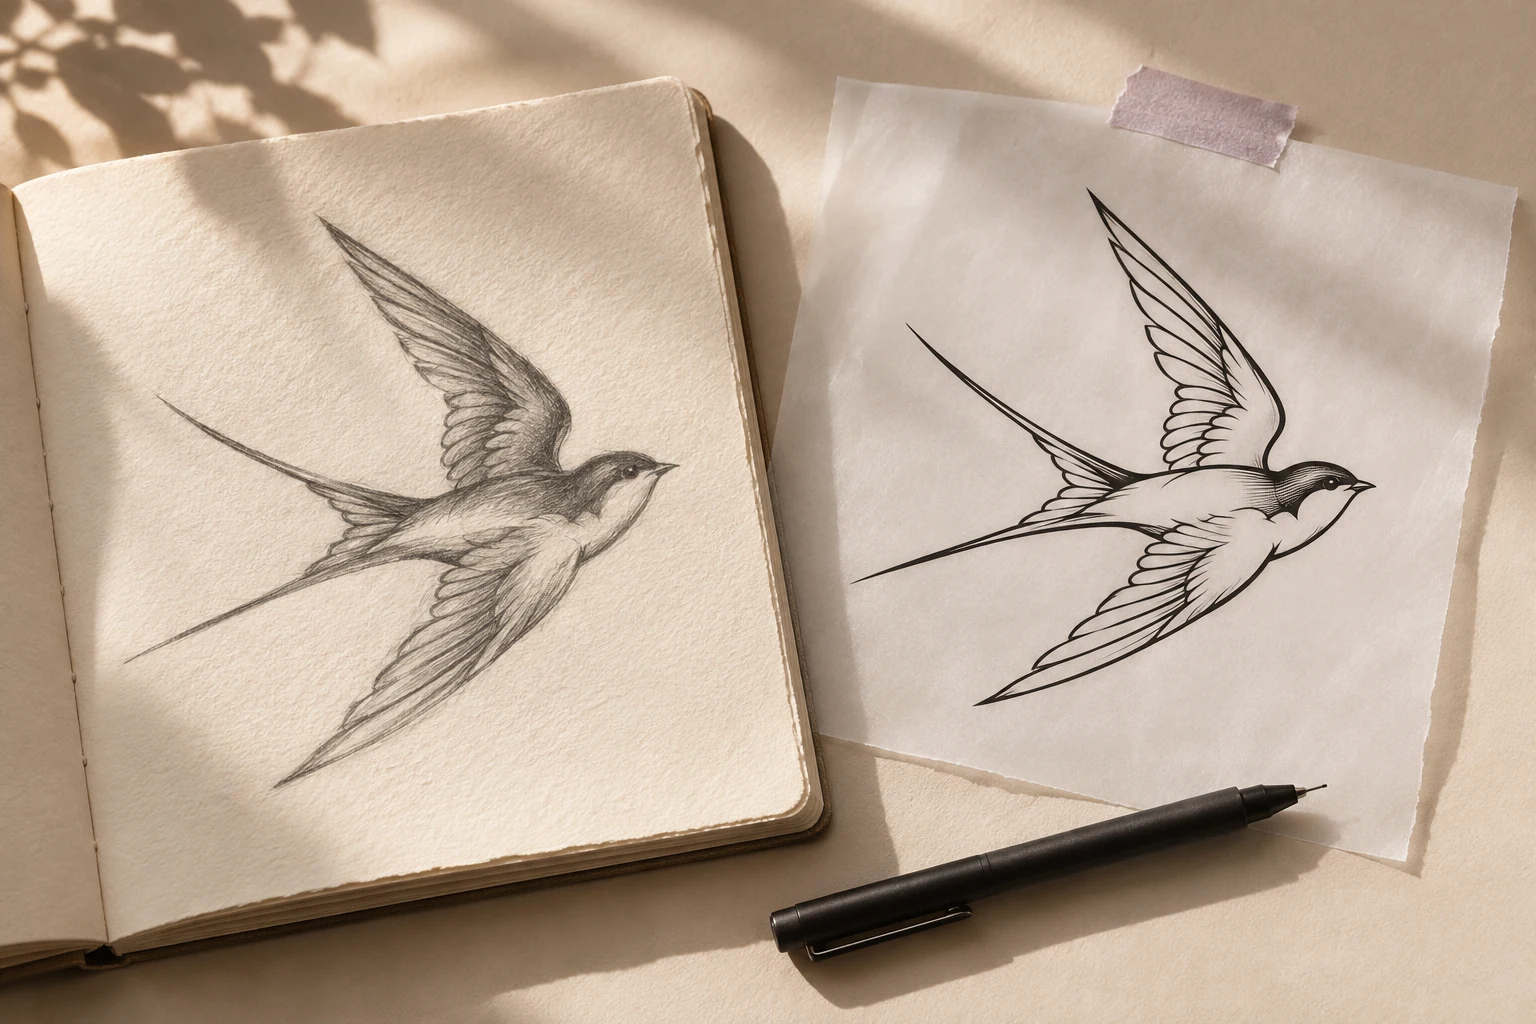
Write down the important parts. For example: “Keep the swallow’s wing angle and uneven tail feathers. Remove the paper shadow. Do not add flowers.” This helps you judge the result instead of accepting a cleaner image that quietly changes the drawing.
Capture the drawing cleanly
A scan is useful when available. For a phone photo, place the paper flat, use even light, and keep the camera square to the drawing. Include the whole artwork. Avoid a bright reflection, a dark shadow from your phone, or a dramatic angle that distorts the proportions.
Make a copy before editing. Keep the highest-quality original you have. A heavily compressed message attachment or a screenshot of a screenshot gives you less detail to work from.
Convert, then compare against the original
Use Tatship’s photo-to-tattoo tool to explore a cleaner tattoo reference from the drawing. Follow the upload and design workflow, then compare the result to the source before moving on to a body preview.
Use this check rather than judging only whether the image looks polished:
| Check | Look for | If it changed |
|---|---|---|
| Silhouette | The same overall outline and proportions | Return to the source or ask for a redraw |
| Line continuity | Intentional joins and open spaces | Mark ambiguous areas for your artist |
| Small details | No missing marks or invented additions | Keep the original visible beside the output |
| Lettering | Every character, orientation, and spelling | Review the actual text with your artist |
| Background | Paper texture or shadows that became marks | Capture a cleaner source image |
The swallow studies in this guide are illustrative. They demonstrate what to compare; they do not show a measured result from the conversion tool.
Know when manual work is the better next step
Conversion is useful for exploring a direction, but it is not always a faithful tracing process. If an exact line matters, ask your artist to work from the original drawing. The same applies when a generated version repeatedly changes lettering, geometry, or a personal detail.
If you want a new interpretation instead, say so. “Keep the subject but simplify the composition” is a different brief from “preserve every line.” Making that distinction early gives the artist much better information.
Check the composition at the intended placement
Once the artwork feels right, preview it on a body photo. Look at the overall direction and the relationship between the design and the placement area. Do not use an apparent screen size as a physical measurement.
Write down the actual size range you are considering. Your artist can advise how the linework and level of detail should change at that scale. A drawing that fills a page may need simplifying for a smaller tattoo.
Make the handoff easy
Send the original drawing, the preferred cleaned reference, and your placement image as separate files. Label the versions clearly. Include a short note describing what must stay and what can change.
A stencil-style reference is not the same as the artist’s final production stencil. The artist may need to prepare the design for their equipment, adjust the linework, and confirm the physical placement. Leave that step in the professional workflow.
Questions about converting a sketch
Can I skip redrawing entirely?
Sometimes a cleaned reference may be enough for the next conversation. Exact preservation, complicated details, or an unsuitable source image may still need manual drawing. Inspect the result rather than assuming the conversion has preserved everything.
Does a dark outline mean the file is ready to tattoo?
No. A strong outline can be easy to read on a screen while still needing changes for tattoo size, style, and stencil preparation. Your artist should make that judgment.
What if the drawing belongs to someone else?
Get permission to use it or work with your artist on an original design inspired by the aspects you like. Cleaning up an image does not change who created it.
Where can I check current access and pricing?
See Tatship web pricing and the offer in your chosen app. Check which features are included before planning a large batch of conversions.
Written by the Tatship editorial team. Product illustrations are conceptual; use the current product and pricing pages to check available features and offers.