A clearer yes before the final stencil.
A practical tattoo design approval workflow: separate artwork, placement, and size decisions, collect specific client feedback, and preserve the approved reference.
 A little perspective, before the ink.
A shared point of view.
A version you both recognize
One clear body reference
A specific next decision
In this guide
How can clients preview a custom tattoo before I finalize the stencil?
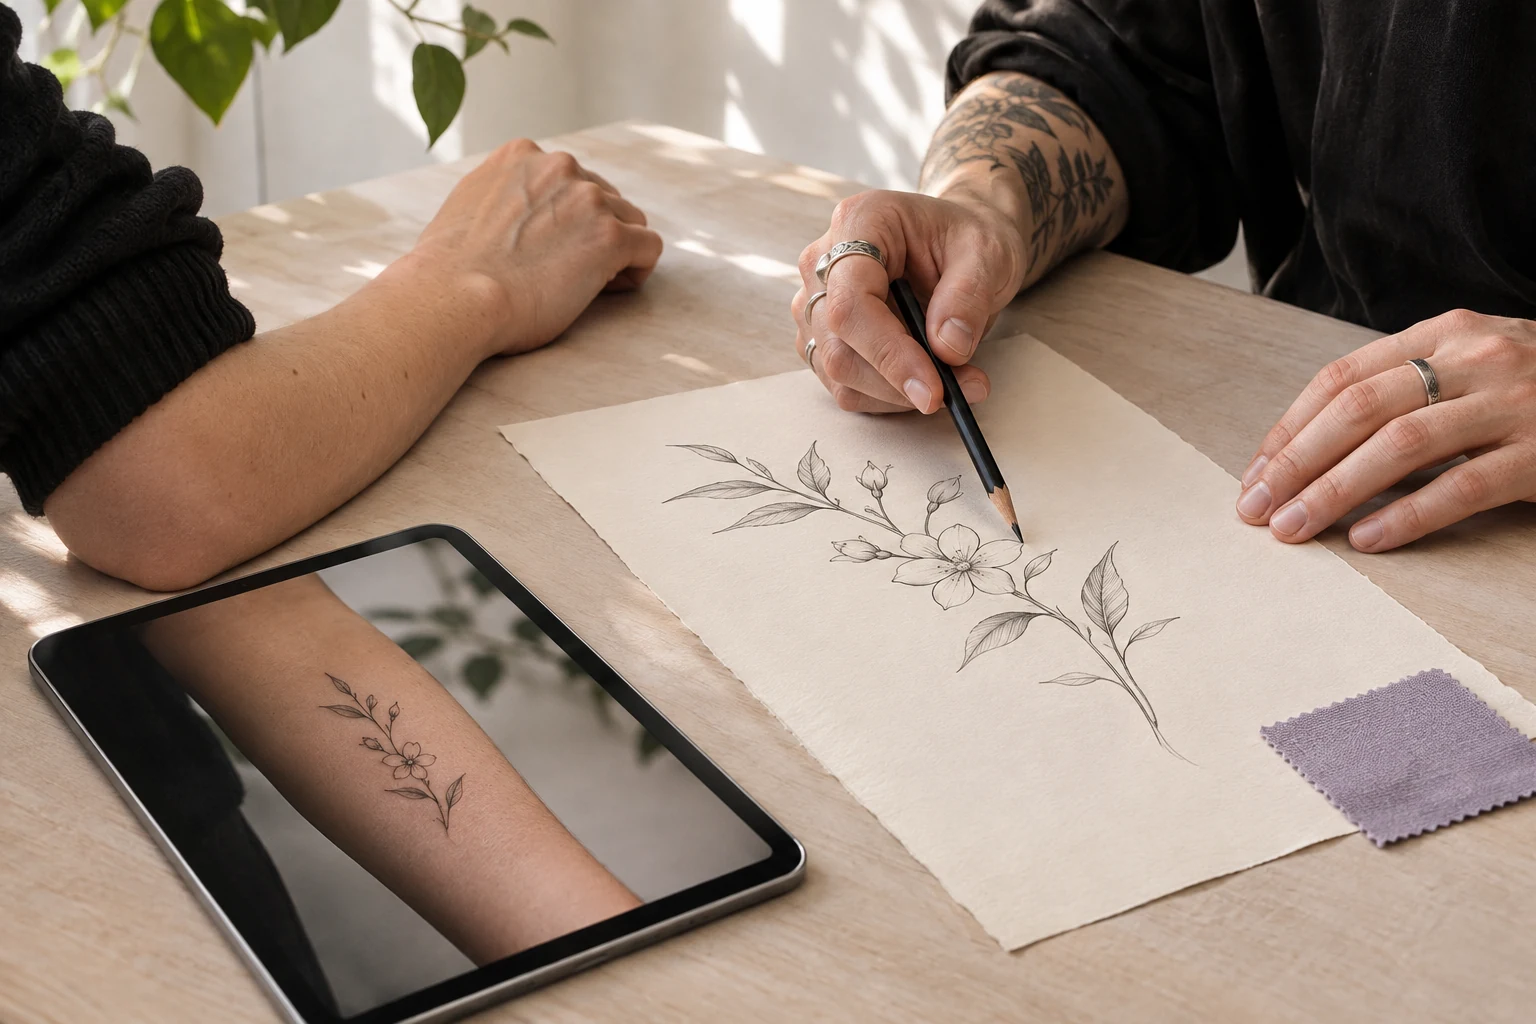
Build a preview from the client’s body photo and the design you are discussing, then ask for separate decisions on artwork, placement, and approximate size. Have the client send back the chosen preview with written notes. Keep the final stencil and in-person placement check in the artist’s workflow.
Approve artwork, placement, and size separately.
Use version names instead of “the latest one.”
A preview is a shared reference, not a substitute for the stencil.
Give each approval a specific meaning
“Looks good” can mean the client likes the drawing, the placement, or simply the general idea. Separate those decisions before preparing the final stencil. An approval process becomes useful when both people understand exactly what was agreed.
Tatship can help clients explore size and placement on a body photo and share a visual reference. The artist offering describes this workflow. It is a way to improve the brief, not an automated approval or booking system.
Step 1: agree on the brief
Confirm the subject, style direction, placement area, and approximate size range. Ask permission to use the client’s photo for this purpose, explain how they should send it, and avoid collecting more of the body than you need for the preview.
If you are still deciding whether to take the booking, use the pre-booking preview guide. This article focuses on reviewing a custom design once the scope of that work has been agreed.
Step 2: approve the artwork separately
Show the drawing on its own before relying on the body preview. Confirm the subject, wording, orientation, and important details. If the client wants a change, revise the artwork before asking them to approve its placement.
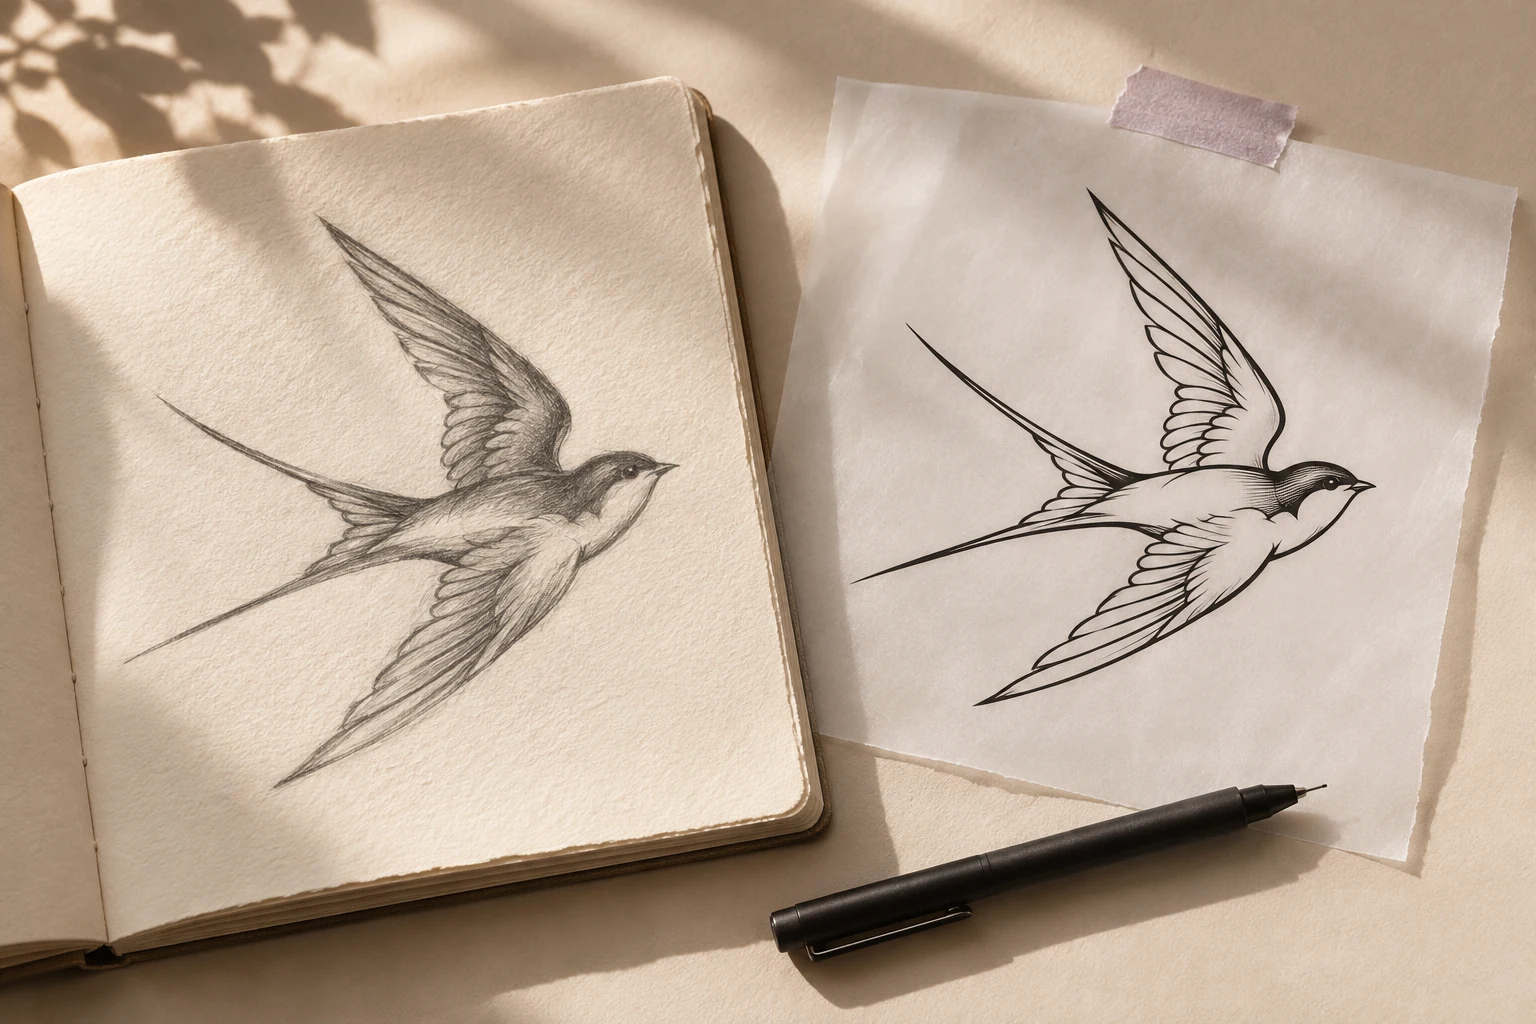
For a design based on the client’s drawing, keep the original sketch and converted reference together. A cleaner output may contain changes the client did not intend.
Step 3: compare a small set of placements
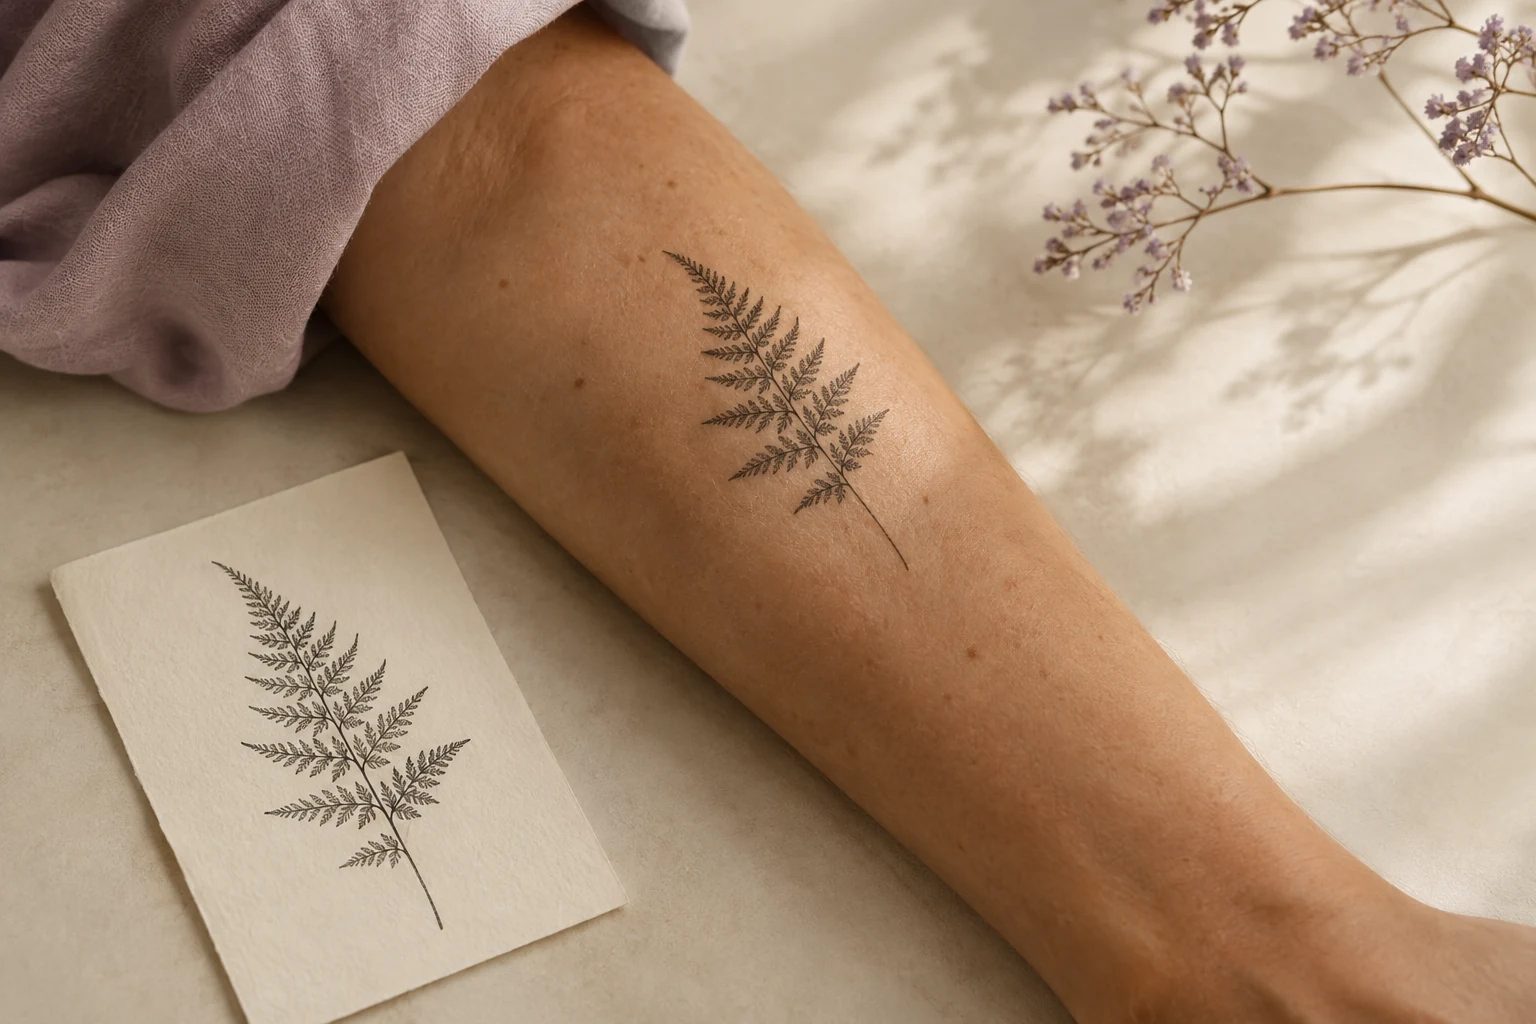
Use the client’s body photo and the version of the design under discussion. Make a baseline preview, then change one variable for each alternative. Name the files clearly, such as “fern-v2-inner-forearm-A” and “fern-v2-inner-forearm-B.”
These names are a studio organization convention, not a claim about automatic version management in Tatship. Keep the design version visible in your own records so an older drawing does not accidentally re-enter the conversation.
Step 4: ask three concrete questions
| Decision | Ask the client | Record |
|---|---|---|
| Artwork | Is this the design version we are discussing? | Version or filename |
| Placement | Is this the intended body area and direction? | Left/right, surface, orientation |
| Size | What physical size range should we discuss? | Approximate dimensions and open questions |
Do not treat the preview as a measuring instrument. The artist still needs to assess the physical area and prepare the final stencil. If an answer is tentative, record it as an open question rather than treating it as final approval.
Step 5: preserve the decision outside the image
Tatship’s artist workflow supports exporting a preview image. The client can send it through your existing communication channel with their notes. There is no need to assume that an approval portal or private collaborative link exists.
Keep the chosen file with a short written summary: the design version, the preferred position, the approximate dimensions, and what remains to be decided in person. An image alone may be ambiguous after several rounds of edits.
Step 6: confirm the final stencil in person
Review the prepared stencil on the client’s body. Confirm the position, direction, and dimensions together. Explain any adjustment from the digital reference and record the final decision using your normal studio process.
A preview can make the conversation more specific, but it cannot guarantee fewer revisions or a particular time saving. If you want to know whether the workflow helps your studio, compare the number of revision rounds and consultation time across similar projects.
Artist questions
Does this replace our design approval process?
No. It adds a visual placement reference to the process you already use. Keep your existing booking, consent, design, and final stencil procedures.
What if the client changes their mind after the preview?
Identify which decision changed: artwork, placement, or size. Update that part of the brief and label the new version clearly. Do not let an older approval stand in for a new decision.
Can the client make the preview themselves?
They can use Tatship to explore a design and share an exported image. Provide a clear reference and explain what feedback you need. Review the result together rather than assuming the preview is a final technical specification.
Written by the Tatship editorial team. Product illustrations are conceptual; use the current product and pricing pages to check available features and offers.