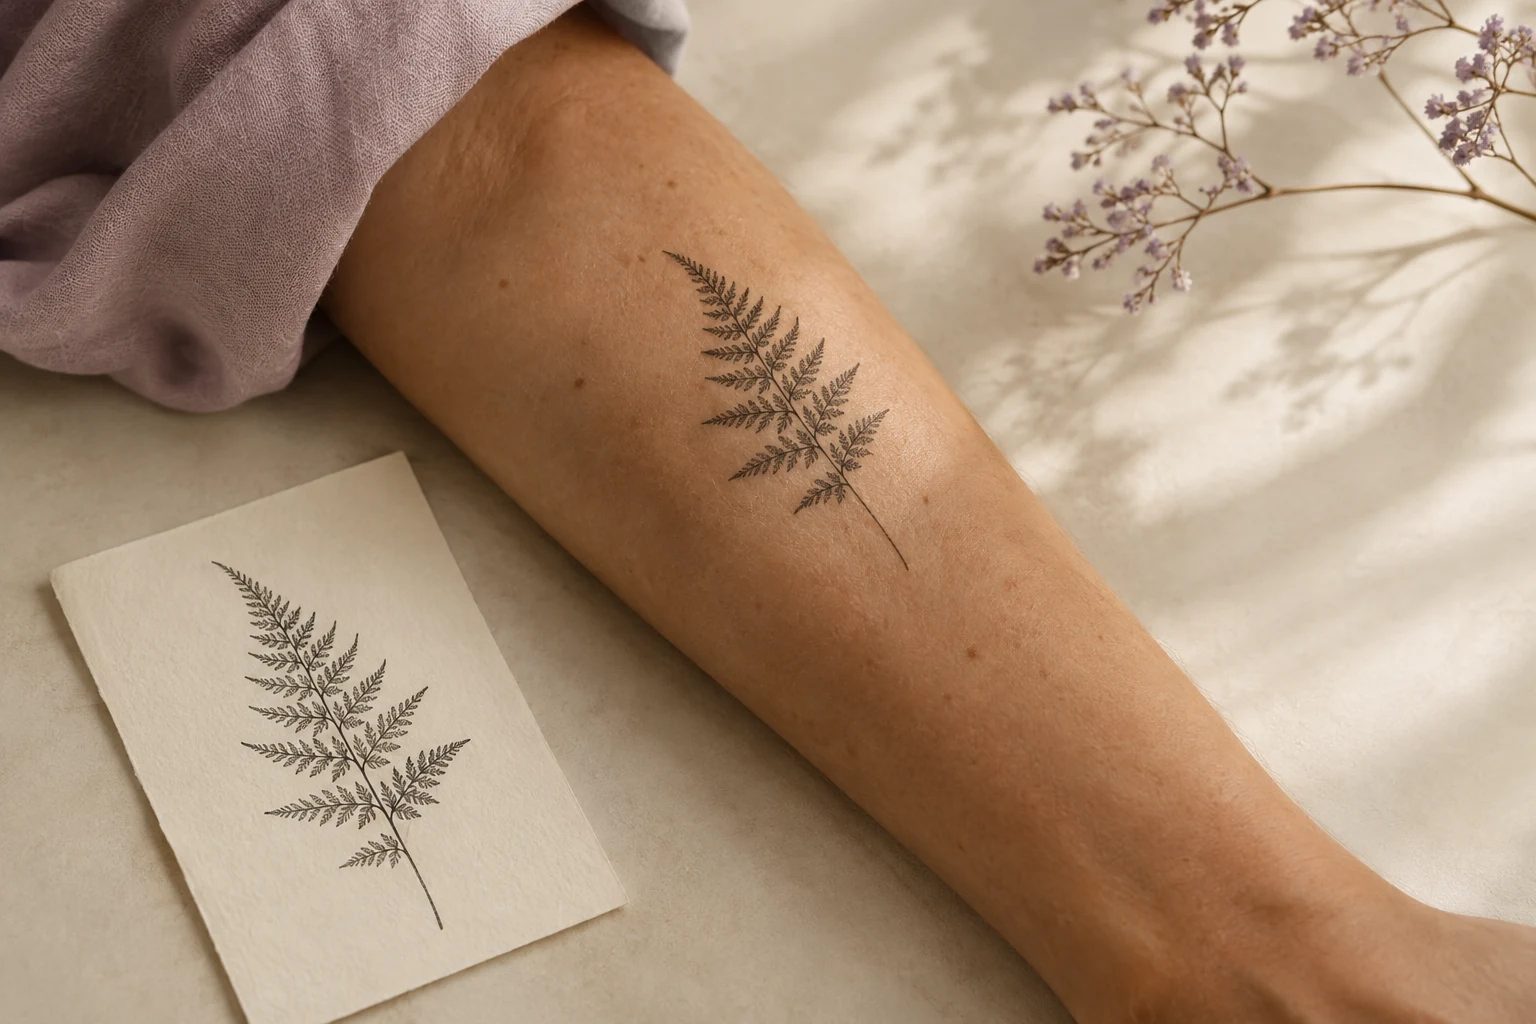
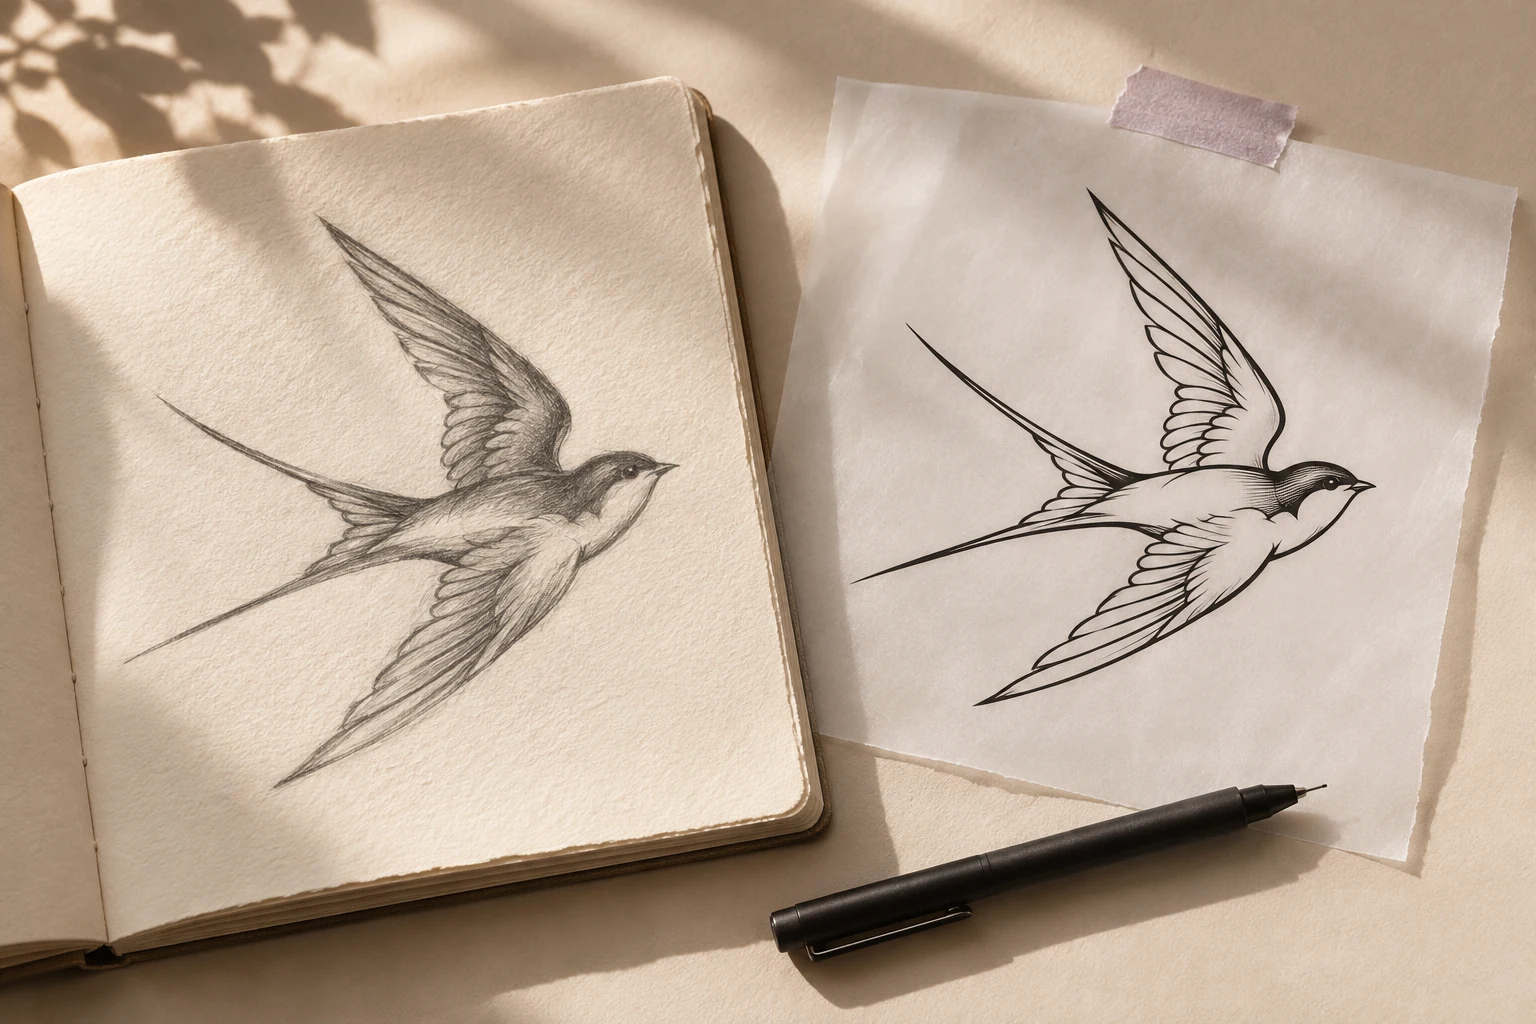
Send a preview. Start a better booking conversation.
How to prepare and send a tattoo preview before booking: request a suitable photo, share a clear visual brief, explain its limits, and ask for the next decision.
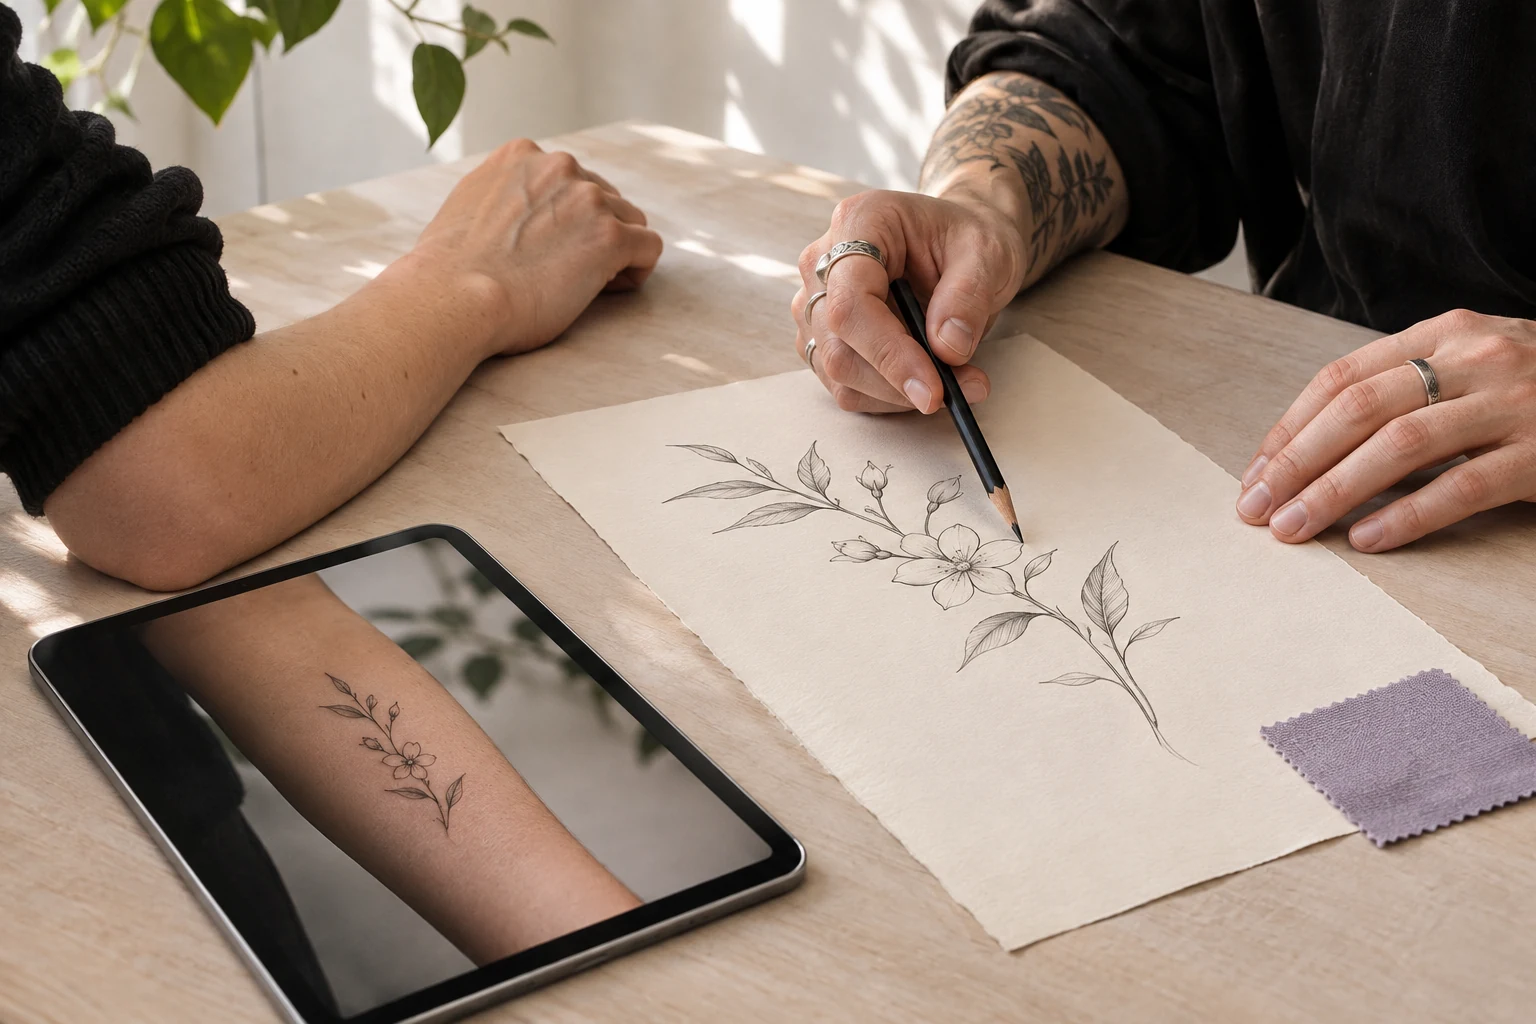 A little perspective, before the ink.
A shared point of view.
A version you both recognize
One clear body reference
A specific next decision
In this guide
How do I send a client a tattoo preview before they book?
Agree on the concept and what a preview includes, use an appropriate body photo to explore the placement, and send the exported image through your usual client communication channel. Add the version, intended location, approximate size, and the next step. Tatship’s artist workflow supports sharing exported preview images.
Set preview and booking expectations before doing design work.
Send context with the image so the client knows what to decide.
Measure the workflow’s results instead of assuming a booking uplift.
Define what the preview includes
A preview before booking should answer a specific question. It might show the direction of a concept on the forearm or help a client choose between two locations. It does not have to include a fully developed custom design.
Agree on the scope first. Explain what is included in your consultation, whether detailed design work follows a deposit, and which decisions remain open. A visual reference should support your studio’s process rather than quietly changing its terms.
Request a suitable body reference
Ask for a clear photo of the proposed area, with enough surrounding space to understand the location. State whether you need the left or right side and which surface should be visible. A simple instruction such as “outer left forearm, arm relaxed, even light” is easier to follow than “send a good photo.”
Use the client’s permission and your normal photo-handling process. If the client is uncomfortable sharing a photo, explain the alternatives you can offer. Do not ask for a broader view of the body than the placement discussion requires.
Build the preview around the agreed concept
Use artwork you are permitted to share. If the image is only an early concept, say so. A client may otherwise interpret a polished preview as the final custom design.
Tatship’s try-on tool can help explore the concept on a body photo. Use the available controls to compare the intended placement and approximate scale. Keep one preferred version and, if it resolves a real question, one alternative.
Do not describe an apparent screen size as a confirmed measurement. Include the physical size range you plan to discuss and let the client know that the final stencil will be checked in person.
Send the image with context
The Tatship artist workflow supports sharing an exported preview image. Send it through the channel you already use with the client, such as email or your booking conversation. A special collaborative link is not required for this workflow.
A useful message includes:
- The concept: what the artwork is intended to communicate.
- The location: body part, side, surface, and direction.
- The version: a filename or label both of you can recognize.
- The open decision: exactly what feedback you need now.
- The next step: how to continue the consultation or booking.
For example: “Here is concept A on the outer left forearm. This is a placement study, not the final artwork. Do you prefer this direction or the smaller version B? Once we agree on the direction, I can explain the design and booking steps.”
Keep the response easy to act on
Ask one question at a time. If the client likes the location but not the drawing, return to the artwork discussion. If they like the drawing but want a different location, make a placement comparison rather than redrawing everything.
After booking, use a separate design approval workflow to record the chosen artwork version, placement, and approximate size. That is a different task from helping a prospective client understand the initial concept.
Measure what changes in your studio
A preview might make a conversation clearer, but a more realistic image does not guarantee a booking. Track a few useful measures before making claims about the result:
| Measure | What to record | Why it matters |
|---|---|---|
| Preparation time | Minutes spent making and sending the preview | Shows the cost of the extra step |
| Follow-up questions | Number and type of replies | Shows what remains unclear |
| Qualified next steps | Consultations or bookings after the conversation | Connects the workflow to your actual goal |
| Revision rounds | Changes before the direction is agreed | Helps you refine the brief |
Compare similar inquiries over a reasonable period. A returning client, an unfamiliar style, and a complex custom piece can require different levels of discussion. Treat the observations as information about your workflow, not proof that one image caused a booking.
Common questions
Should the preview be free?
That is a studio policy decision. Explain your consultation and design terms before preparing the work. Tatship does not determine what you charge your client for your time or artwork.
Does Tatship send the booking or collect the approval?
This guide uses Tatship for the preview and your existing communication process for the discussion. It does not assume automated bookings, deposits, or formal approvals inside the preview tool.
What if the preview looks different from the final stencil?
Explain the change and review the actual stencil with the client. The preview is an illustrative planning reference; the final artwork and physical placement still need the artist’s attention.
Written by the Tatship editorial team. Product illustrations are conceptual; use the current product and pricing pages to check available features and offers.